
LED Grow Light Problems: Common Issues and Simple Solutions in 2026
Troubleshooting problems with LED grow lights starts with two simple observations: Where are the affected plants located? And when does the problem occur? LED grow light problems that cause plants to stretch at the edges of a shelf are coverage problems, while problems that cause a grow light to shut down after it has warmed up are electrical problems. Here is a step-by-step method for making a correction and then checking for new growth or improvement in the operation of the fixture.
Start With Symptoms and Canopy Measurements
Leggy Growth and Dark Shelf Edges
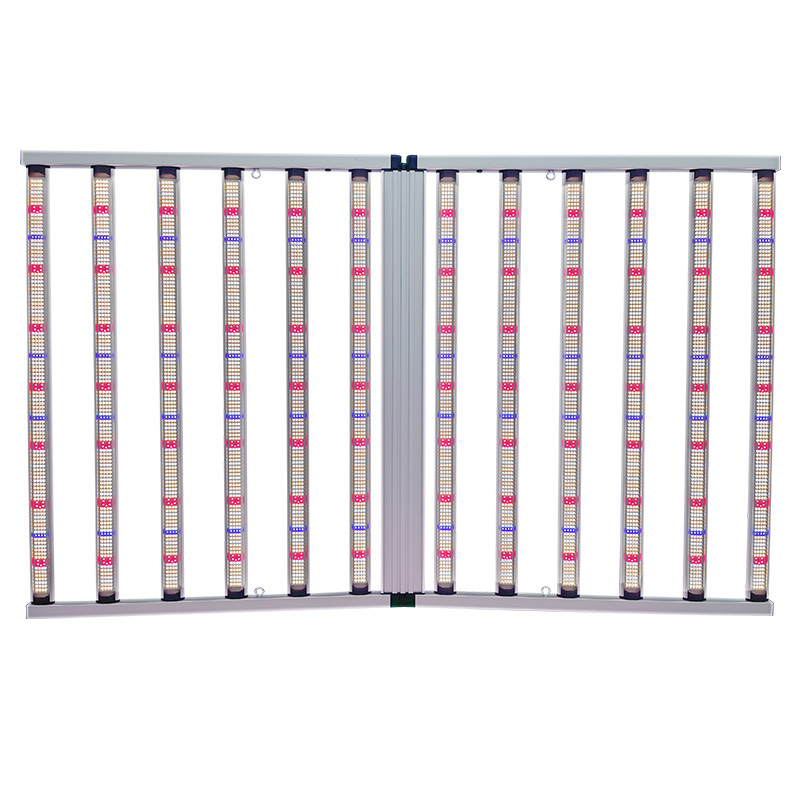
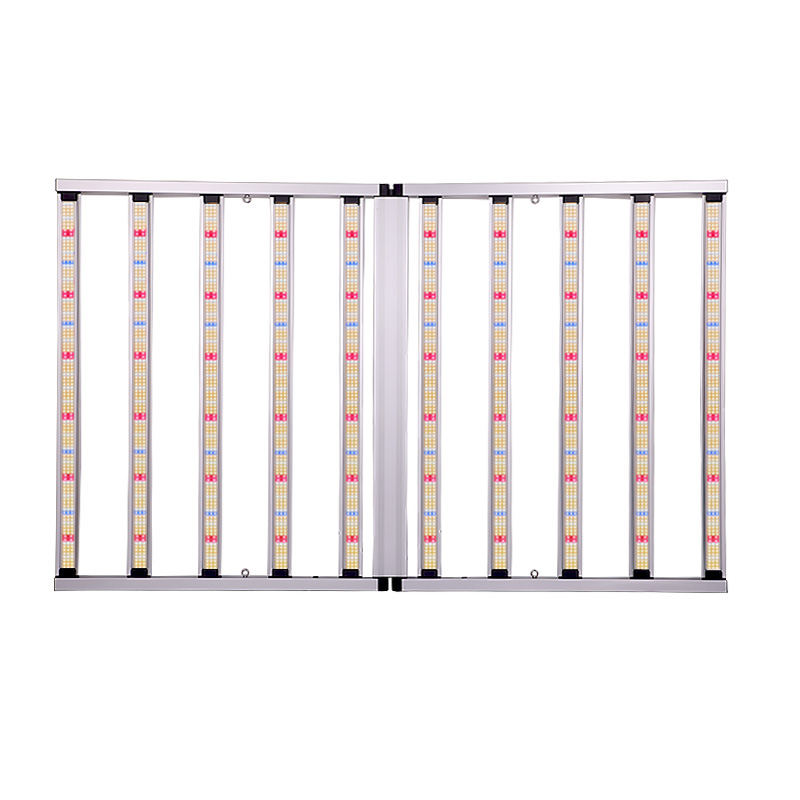
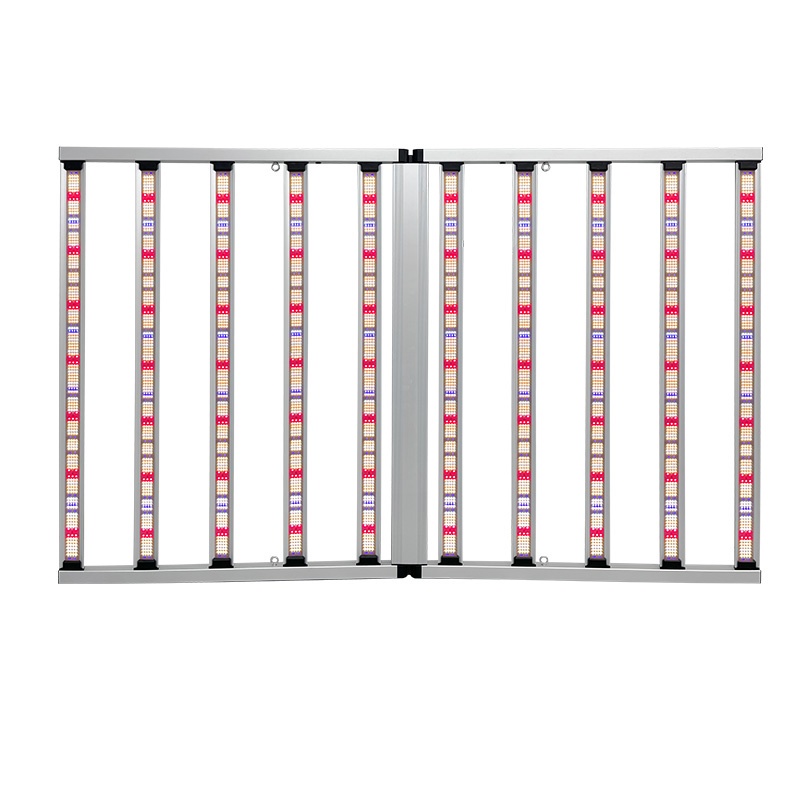
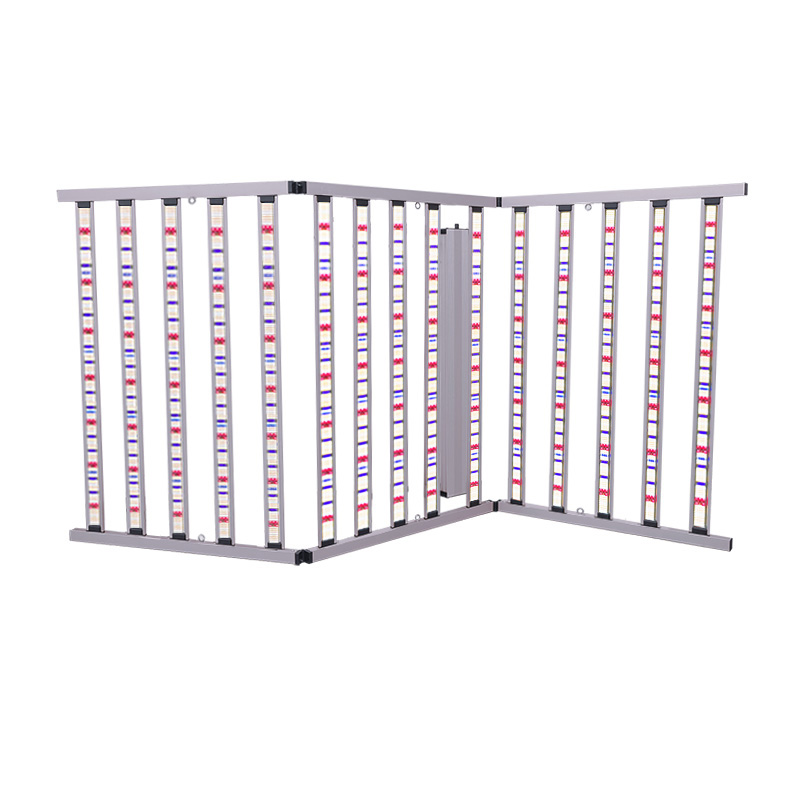
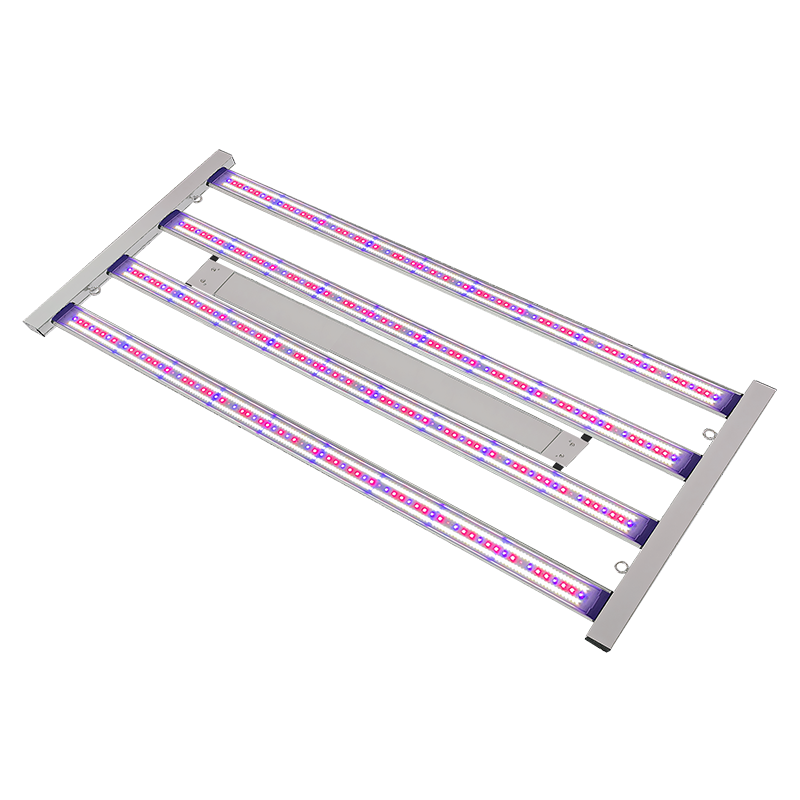
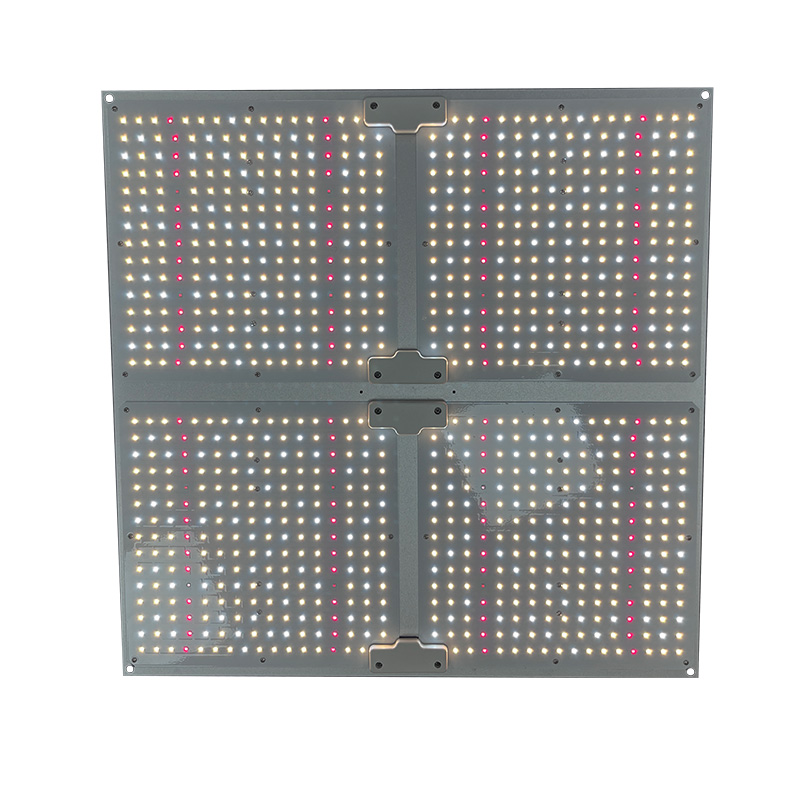
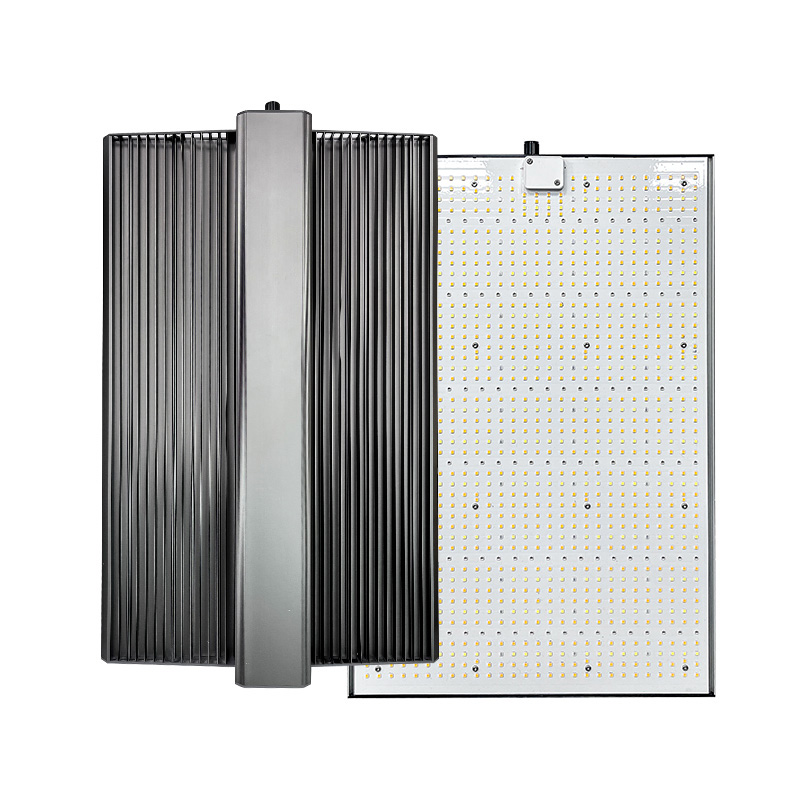
A typical sign of limited usable light is long internodes, slumping stems and small new leaves. Measure light at leaf height in the center, corners and in shade. If outer pots are stretching whilst center pots are not, change the footprint rather than increasing center light. Use supports to raise shorter pots or add a bar to the very dark edge of the pot. We can tell from our LED grow light range whether a given bar layout is optimal or not and whether it is actually concentrated top light.

Bleached Leaves, Curling, and Wilting
Light colored upper leaves with strong lower leaves can point to excessive light. Lower the brightness level or shift the plants slightly farther away. Then observe the fresh growth closely during the next few days. Plants that wilt can also result from soil that is too dry in the pot. They can come from root rot or warm air flow as well. Examine the soil moisture and the temperature at the plant tops first. Do this before you decide the spectrum is causing the issues. New leaves will not return to their original look if they have suffered damage.
Fix Flicker, Shutdowns, and Control Faults
Check the Electrical Supply Safely
Always disconnect the power cord first. Do this before you examine the external plugs and cables of a unit. Look for connections that are not tight. Check for any moisture present. Inspect the wire covering for pinch marks. Also confirm that power strips are not overloaded. Units that keep tripping a breaker need attention right away. The same holds for units that have a burnt smell or show damaged wiring. Disconnect these units from power immediately. Keep them unplugged until a qualified service technician checks them. Never open a sealed driver to discover the cause of a plant symptom. Instead find out if it fails to start. See if it fails at low dimming. Or check if it fails after the lamp has warmed up.
Validate Dimming and Restart Behavior
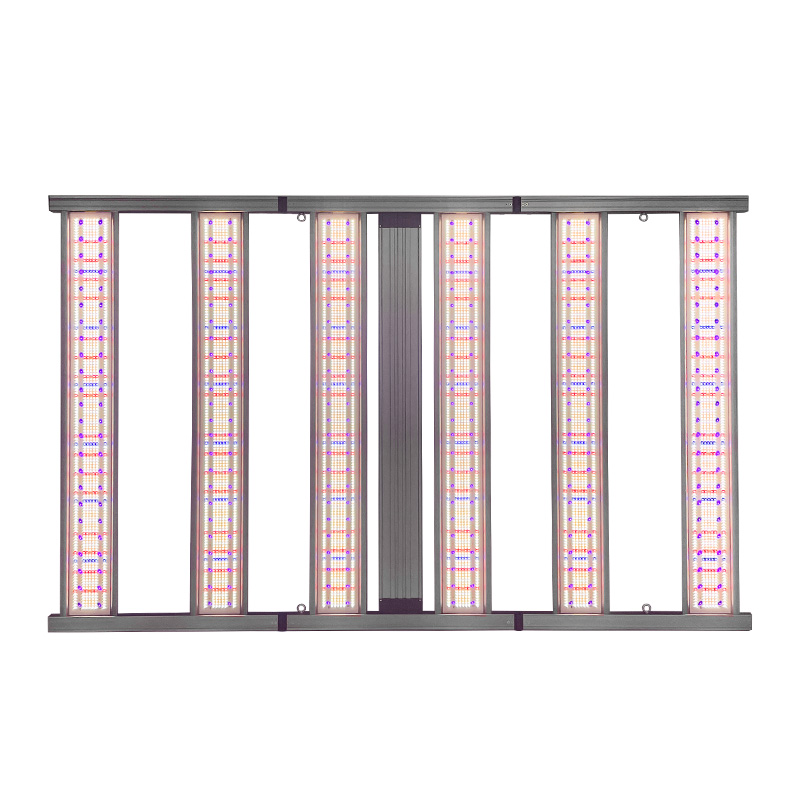
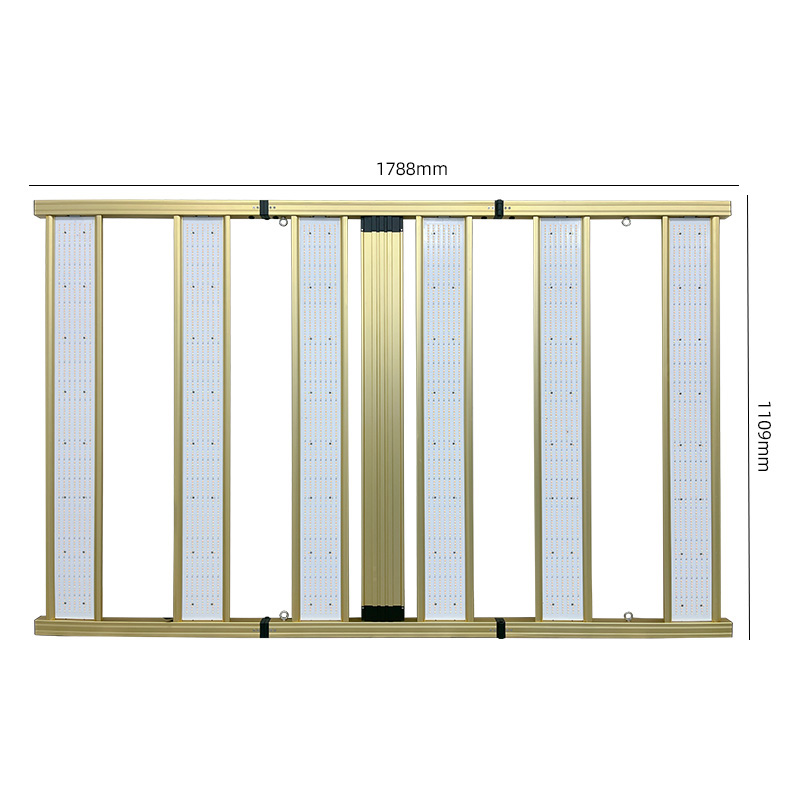
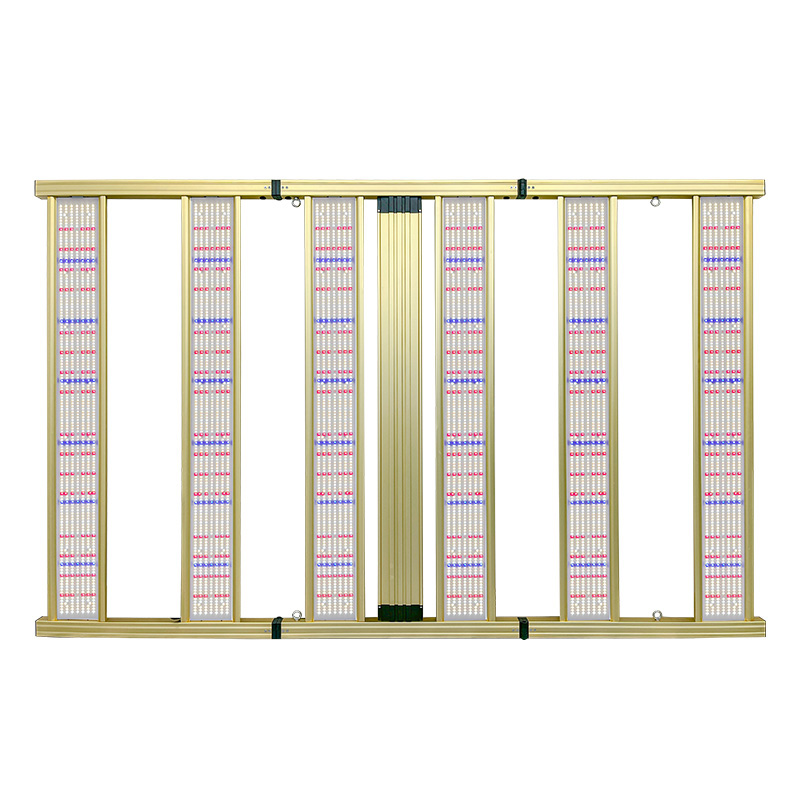
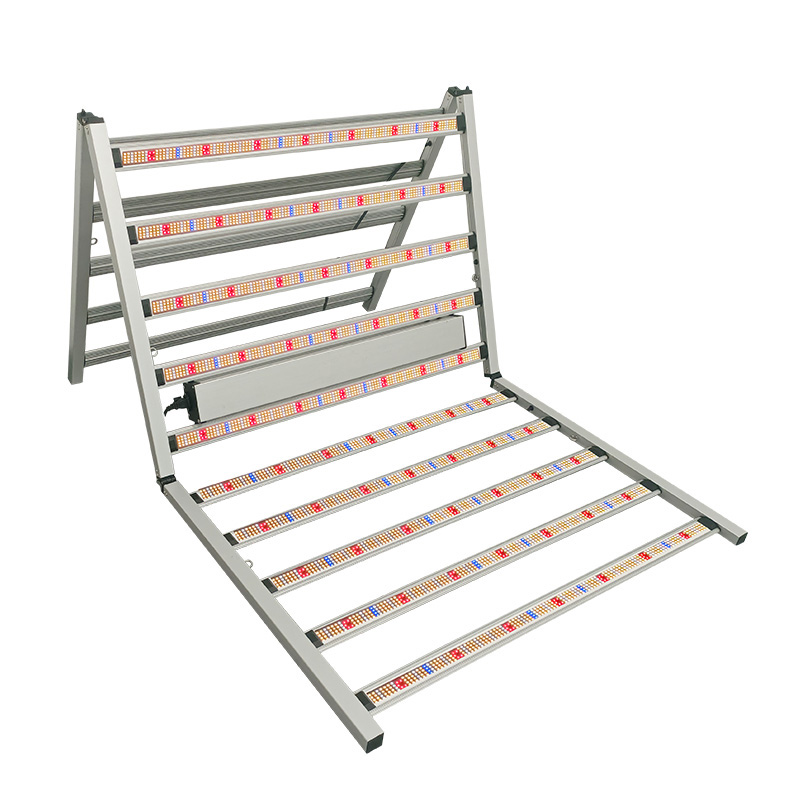
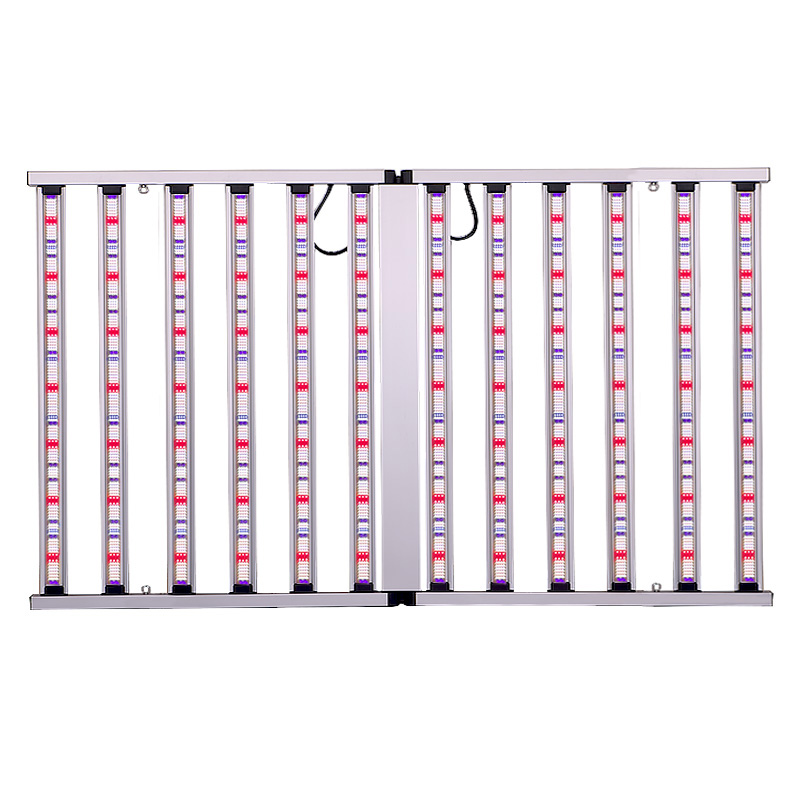
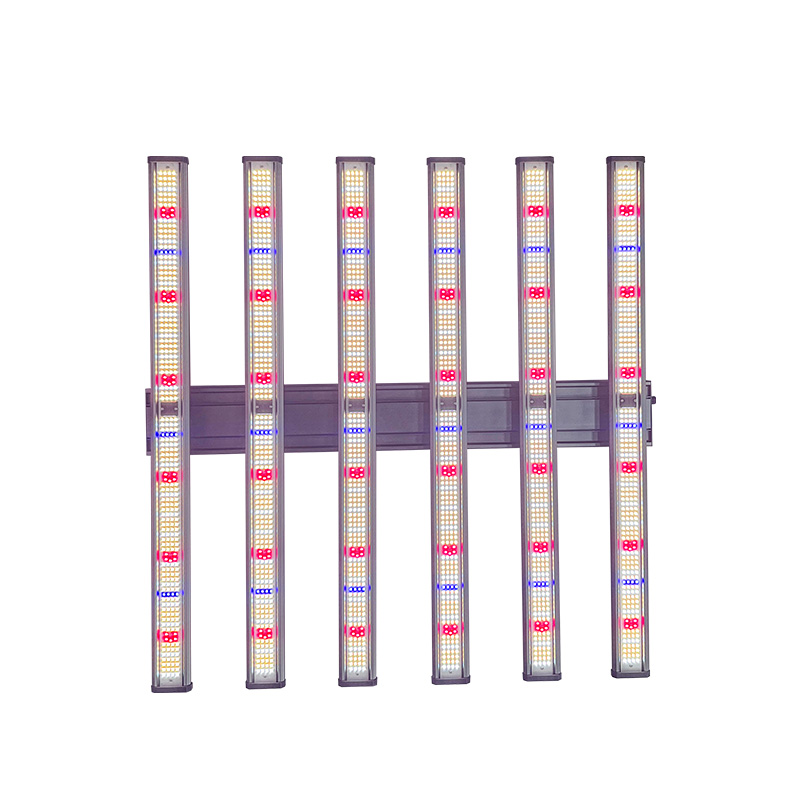
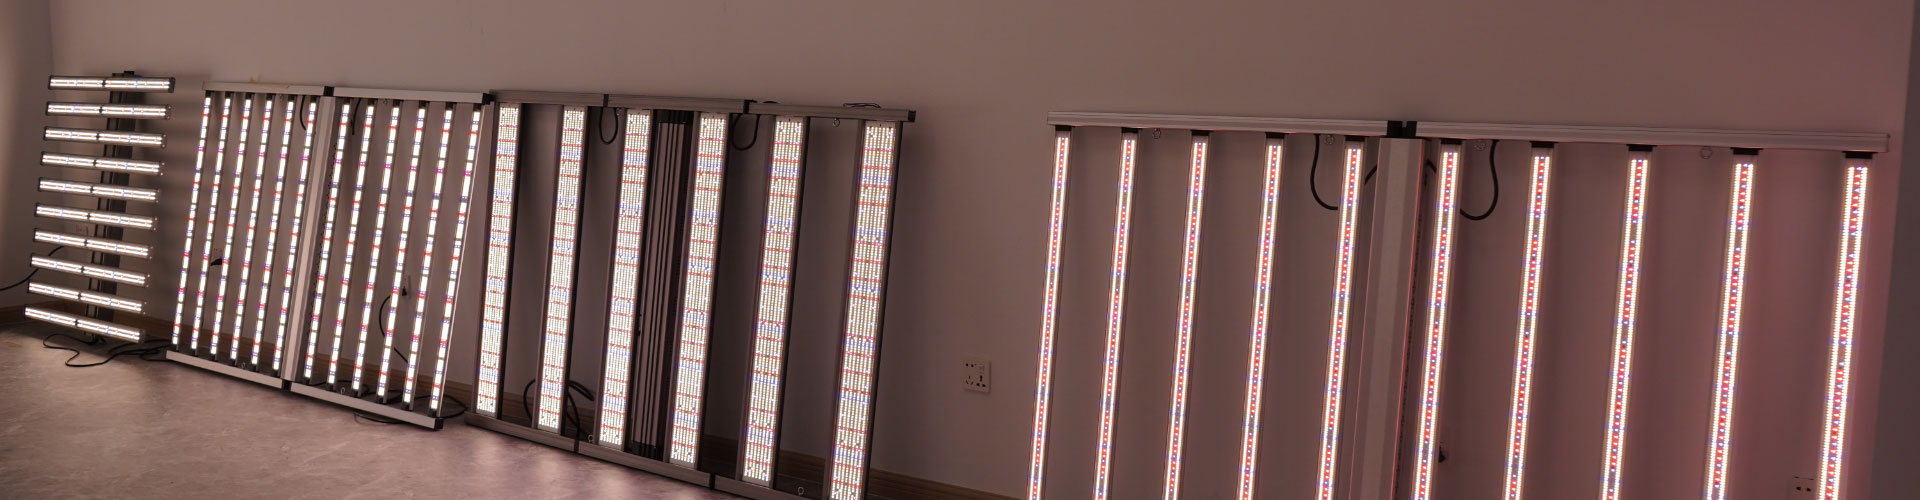
Test commercial dimming systems for usable dimming percentage, stability at minimum output, flicker, unexpected blackout, and consistency between fixtures. Test schedules, Group commands, Communication failure and recovery, and Behavior after power cycle. Check PPFD and edge uniformity at the designed light level, not just 100%. This is an acceptance test and does not mean that every light has been tested individually. Multi-light installations such as the 1500W 6 Bar full-spectrum grow light should be commissioned in commercial projects.
Confirm Controller Compatibility
We have configured the products at ANDYLED to support dual-channel dimming, 0–10V output, AC parallel connection, or controller-based scheduling. Note that the compatibility of a fixture, driver, cable, controller, and wiring configuration must be verified prior to purchase, as not all products support all control methods. Having matching connectors does not necessarily mean that two products can be connected.
Resolve Spectrum and Coverage Mismatches
Balance Color With Total Light
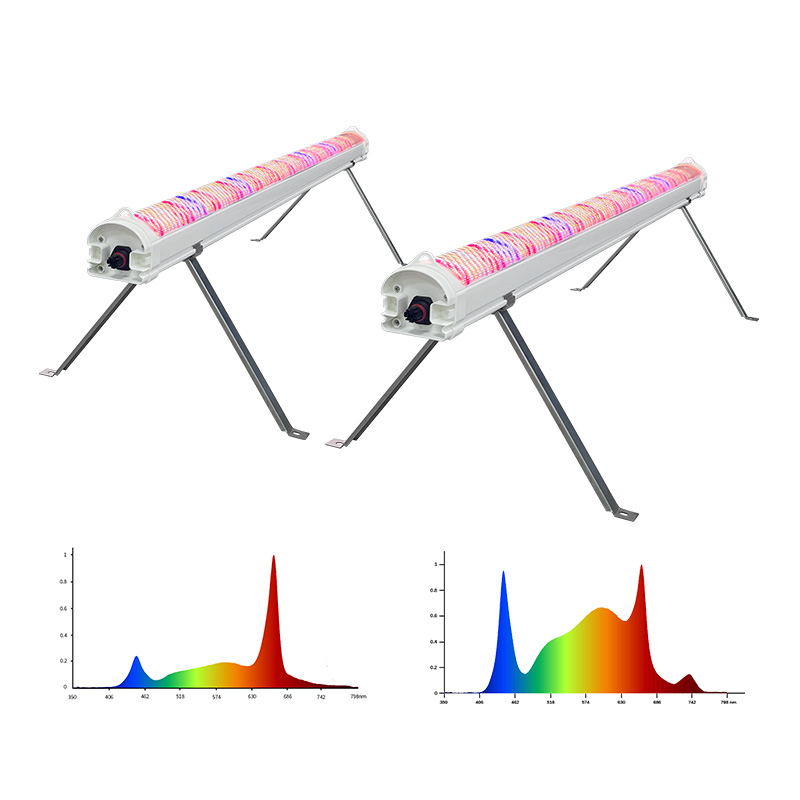
A pink appearance does not prove that a lamp delivers the right photon dose. Conversely, white light can contain useful blue and red wavelengths. Keep spectrum, intensity, and coverage separate in your diagnosis. If stretching persists after a color change, check canopy measurements again. The grow light spectrum guide provides a useful overview of wavelength roles.
Choose Hardware for the Space
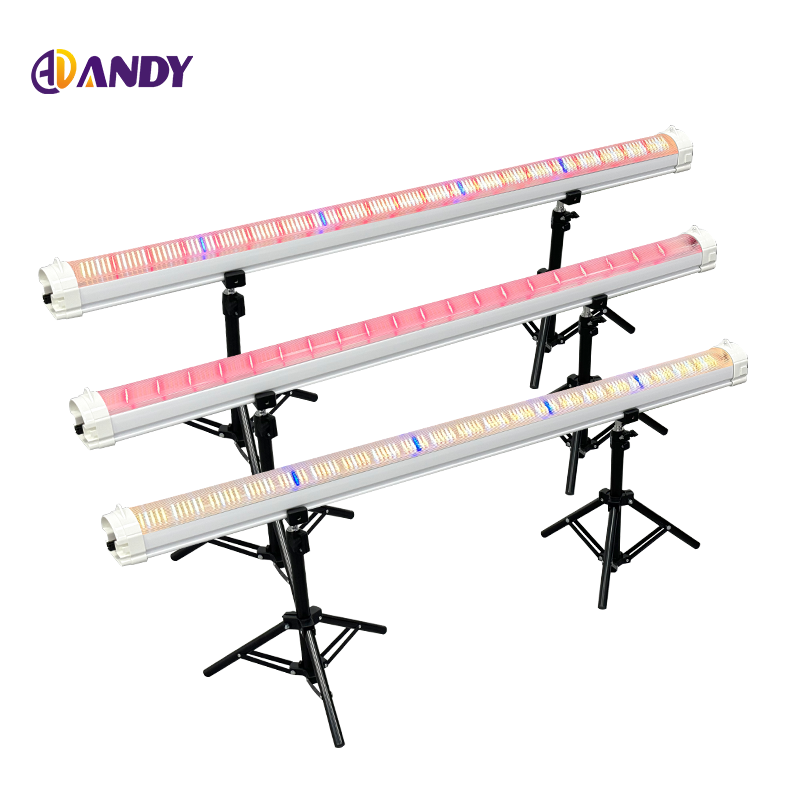
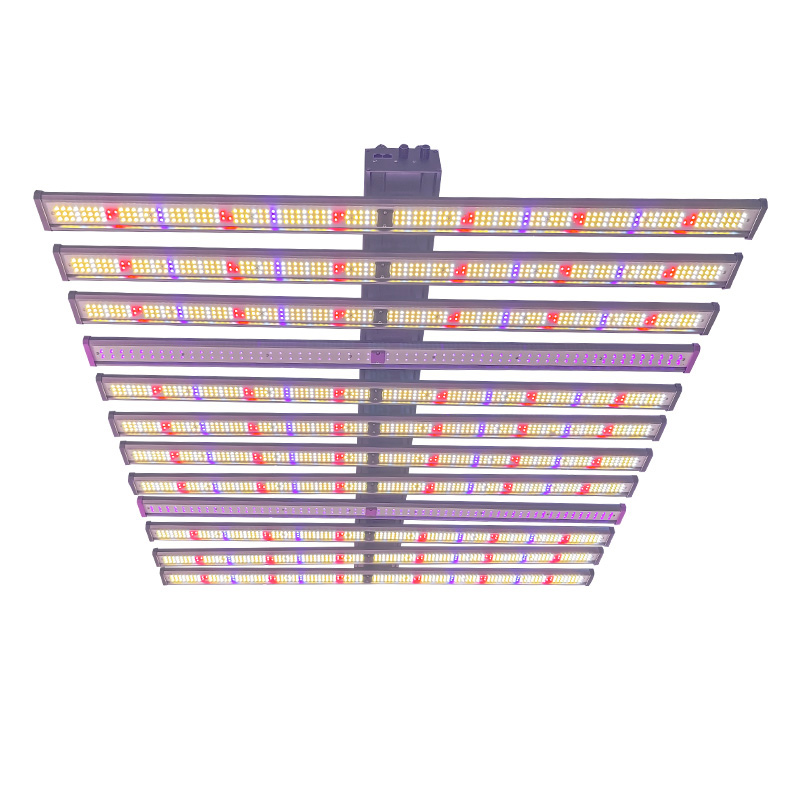
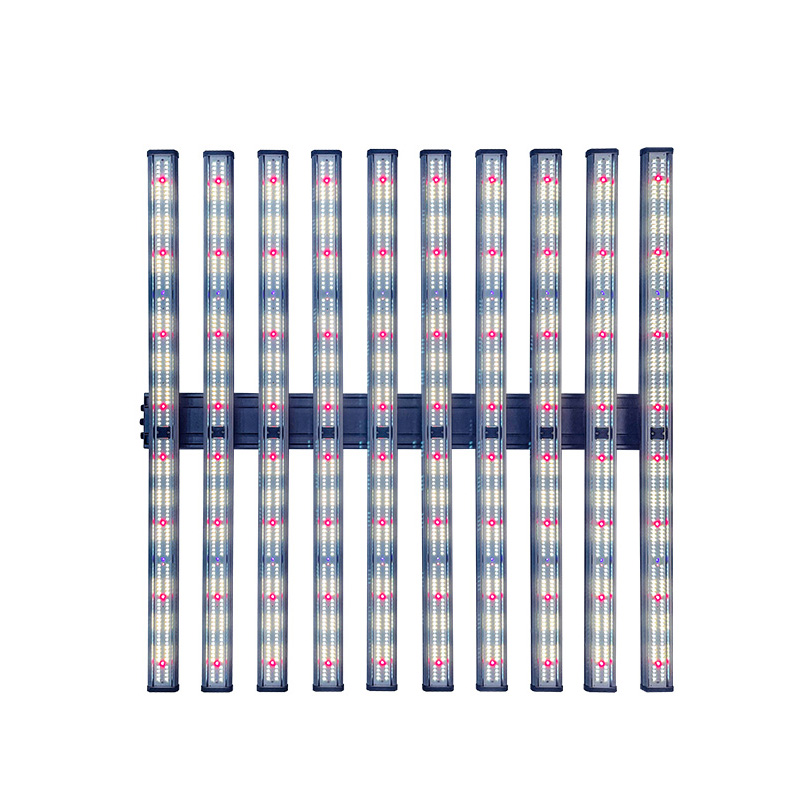
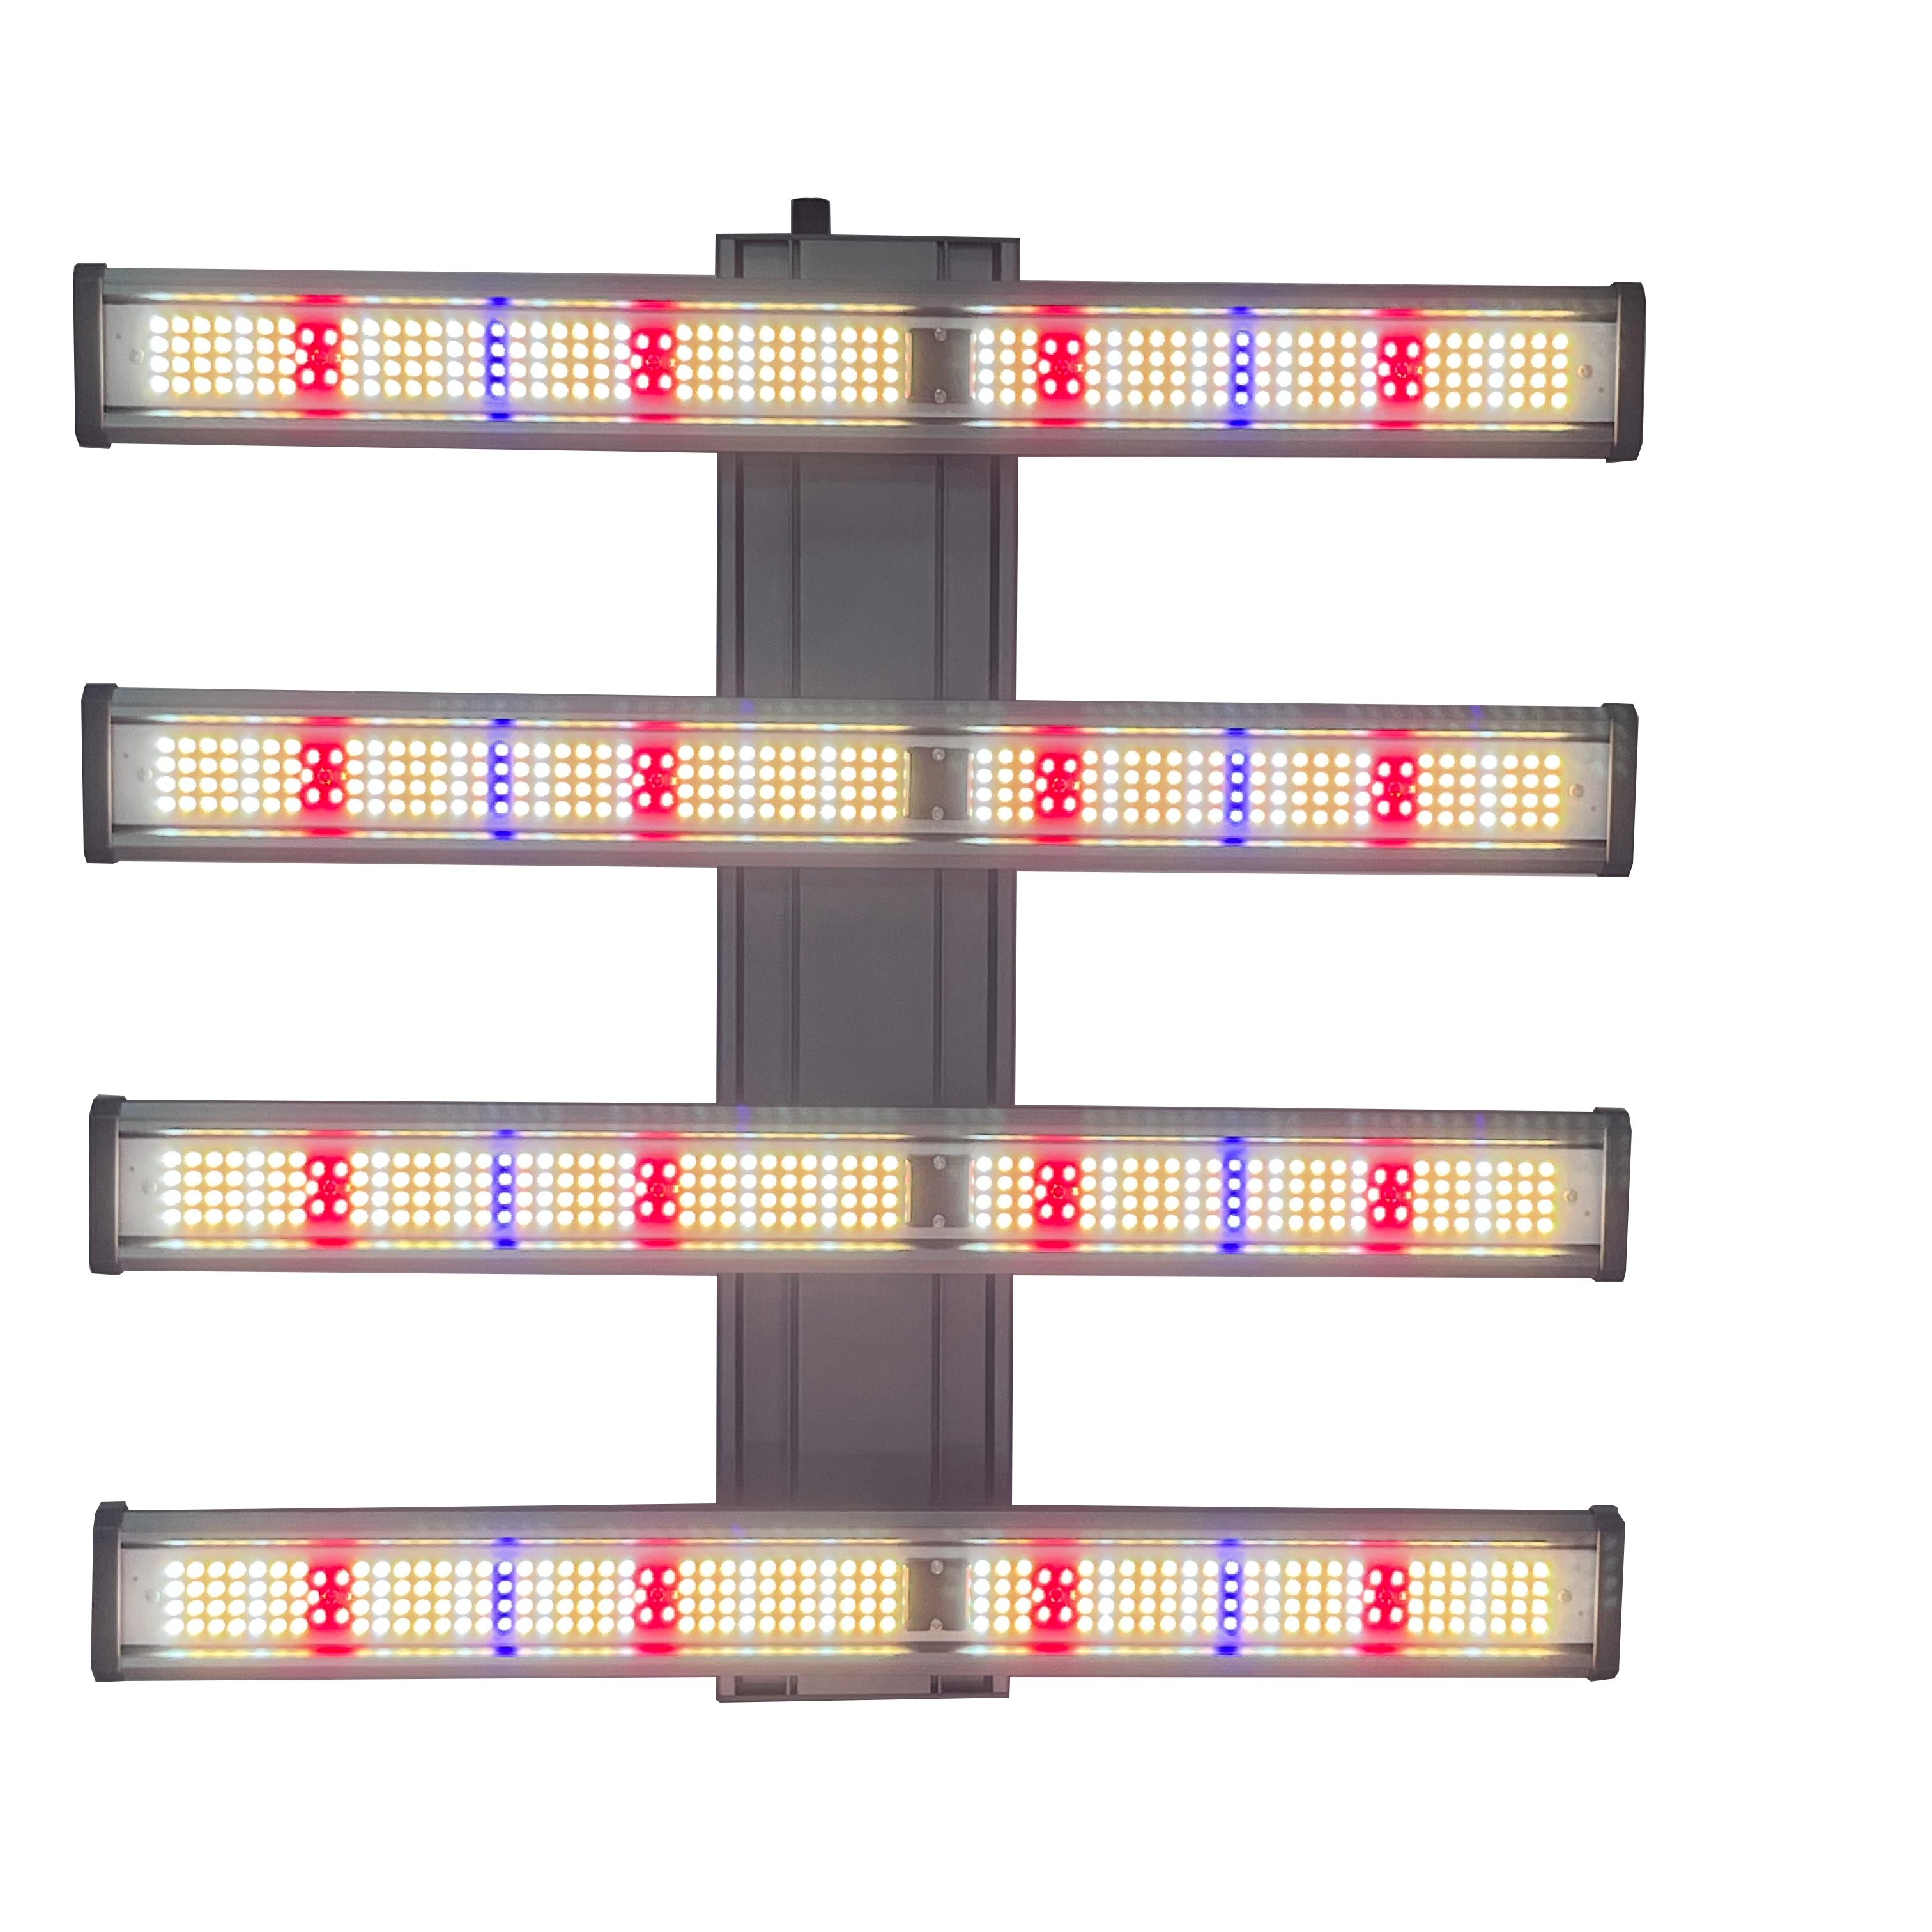
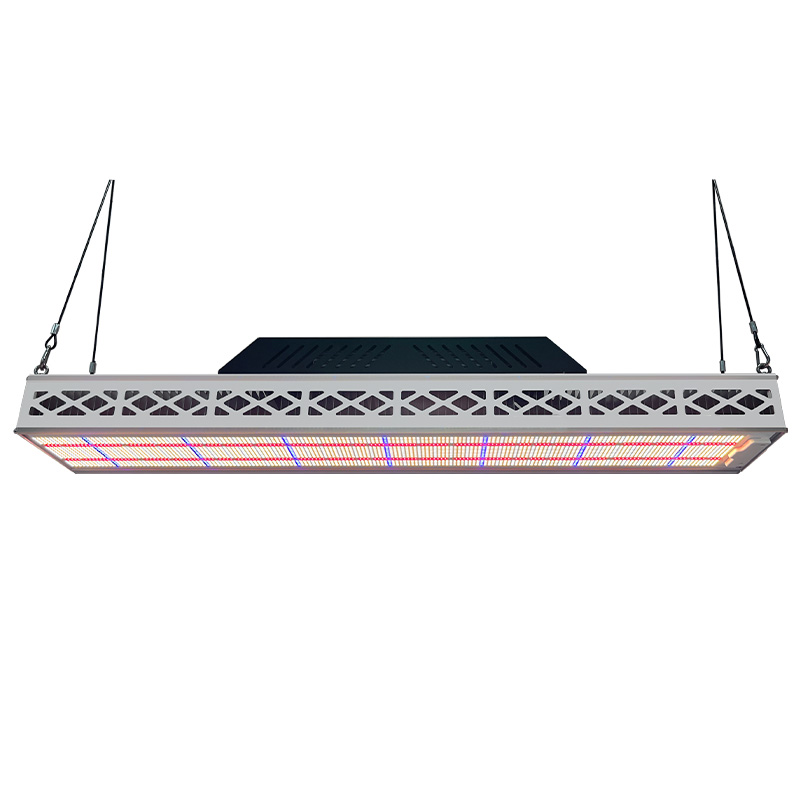
A shelf needs to have a shallow, even footprint, whereas a high greenhouse roof will need an entirely different optical configuration. For commercial top growing, use the 640W Top Fill full-spectrum grow light and consider for separate evaluation the household clip lamps. Record the mounting height, usable area, and the lowest reading at the edge of the area to be grown. Don’t mistake the advertised maximum area for equal intensity at all points within it.
Coordinate Light With Heat, Water, and Timing
Manage Heat at the Leaves
Commercial growers use lamps in conjunction with fans and humidity to control their grow environments. Aluminum lamps are designed to dissipate heat, but the temperature of the fixture will vary. Check the airflow, humidity, canopy temperature, irrigation response, and building heat load when the lamp’s output changes. This section is not intended to outline a specific watering or temperature regimen.

Keep the Daily Schedule Consistent
Extending the lighting period increases light exposure on a daily basis and total Daily Light Integral. Monitor cultivar response, time to flowering, mature plant size, and environmental capacity. Choose your spectrum based on PPFD, photoperiod, growth stage, and room. One schedule does not fit all plants or rooms. Remember to check the timer clock after a power failure and count light from natural light entering through windows as part of overall light exposure.
Allow Plants to Adjust
Newly potted seedlings and recently repotted plants may find a sudden increase in light output challenging. Set the light on the low end of its range to begin with and then increase as the new leaves develop. Record the change and return to the same plants each day. If growth does not pick up within a few days, then investigate the roots, nutrients available, pests, and poor drainage as a priority. These indoor plant lighting choices are to be used when the original fixture is simply unsuitable.
Reduce Running Costs Without Creating New Problems
Calculate Actual Energy Use
Use measured electrical draw when possible. A 100-watt fixture running 14 hours consumes 1.4 kilowatt-hours per day; multiply by the local tariff and days used. Dimming and lighting only occupied areas can reduce waste. Buying a lower-wattage lamp is helpful only if it still delivers sufficient light over the required footprint.
Clean, Record, and Recheck
Dust on a luminaire blocks light and hinders cooling. Cleaning must be performed by the owner or authorized person with power switched off and under the strict terms as laid out by the manufacturer. Avoid contact with electrical components with water. After any alteration, such as a change in mounting height, dimming level, timer setting, etc., record the canopy reading and compare it with this baseline reading should the symptoms return, rather than risking several attempts of alteration. Persistent output drop after thorough cleaning of all optical surfaces may indicate a problem with the driver or luminaire.
Label three of the pots as ‘observation’ and take photos of new growth on them, as well as noting where they are in the potting area before you make any changes. That way you can easily tell if you have fixed a problem or just moved it.
During and after a shutdown, record how long you left a fixture to run and what else was on the circuit. Inform the technician of these details. Resetting a breaker over and over again does not prove that the installation is okay. Find out what caused the breaker to trip.
To make a fair comparison before and after a change, inspect the plants at the same time of day and maintain the water given to them. A plant can drop its leaves temporarily in the middle of the day due to the heat and then recover quickly. Use fresh leaves every time you take readings of the canopy and measure it with a tape measure or similar.
FAQ
Q: Why are plants leggy under LED grow lights?
A: Insufficient light on the canopy or shaded edges often create this condition. These remain common issues. Measure the area first. Then move the plant. Perform these steps before you increase the lighting hours.
Q: Can LED grow lights burn leaves?
A: Yes. Strong light or high heat can damage leaves. Lower the light level slowly. Check the watering at the same time. Examine the humidity around the plant too.
Q: Why does an LED grow light flicker when dimmed?
The driver could have an issue. The controller might cause trouble. A loose connection can lead to this. The minimum output level may not match properly. Record the current settings first. Then have the full system checked.
Q: Should grow lights stay on all night?
A: Most houseplants need a period of darkness. Track the total light hours a plant receives each day. Avoid running the lamps constantly.
Q: When should an LED grow light be replaced?
Consider replacement if you confirm a real drop in output. Unsafe damage provides another clear reason. The same holds if the driver fails again after proper maintenance. It also applies after inspection by a qualified technician.


