
How to Manage Heat and Airflow Around High-Wattage Grow Lights
High-wattage Grow Lights add heat to the fixture zone, affect air above the canopy, and force climate systems to work under real lights-on conditions. Manage them by separating the fixture, air path, crop zone, and cooling system.
In a commercial cannabis room, the real question is how the full lighting zone behaves after lights, fans, ducts, racks, and canopy growth interact.
Where Does Heat Accumulate Around High-Wattage Grow Lights?
Separate Fixture Heat From Whole-Room Heat Load
Commercial growers use humidifiers and fans together with Grow Lights to control the overall cultivation environment. The aluminum fixture material can accelerate heat dissipation, but it does not keep the fixture temperature constant. Heat released into room air still has to leave through cooling and return air.
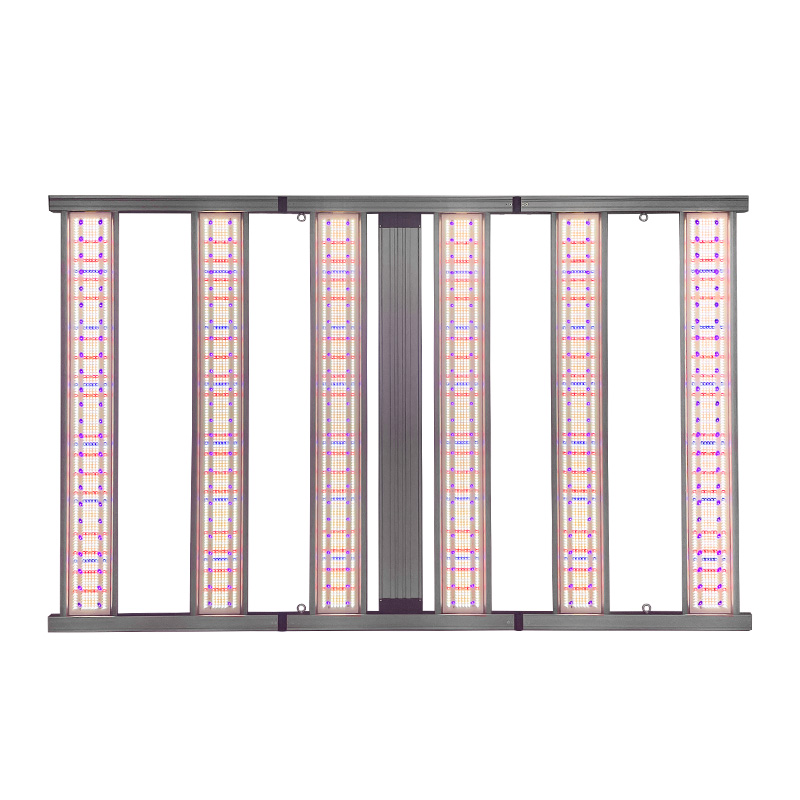
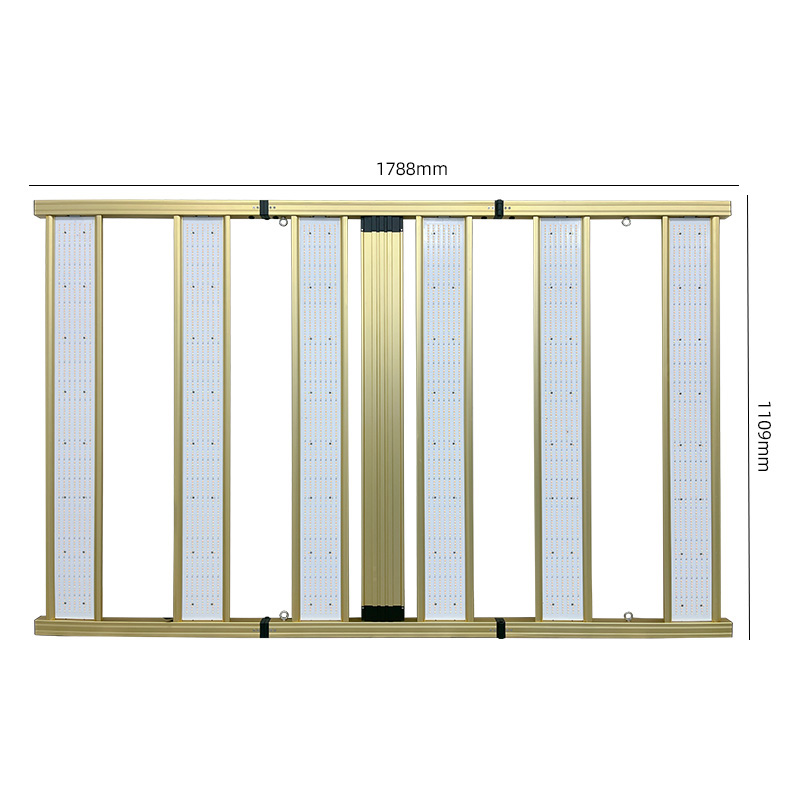
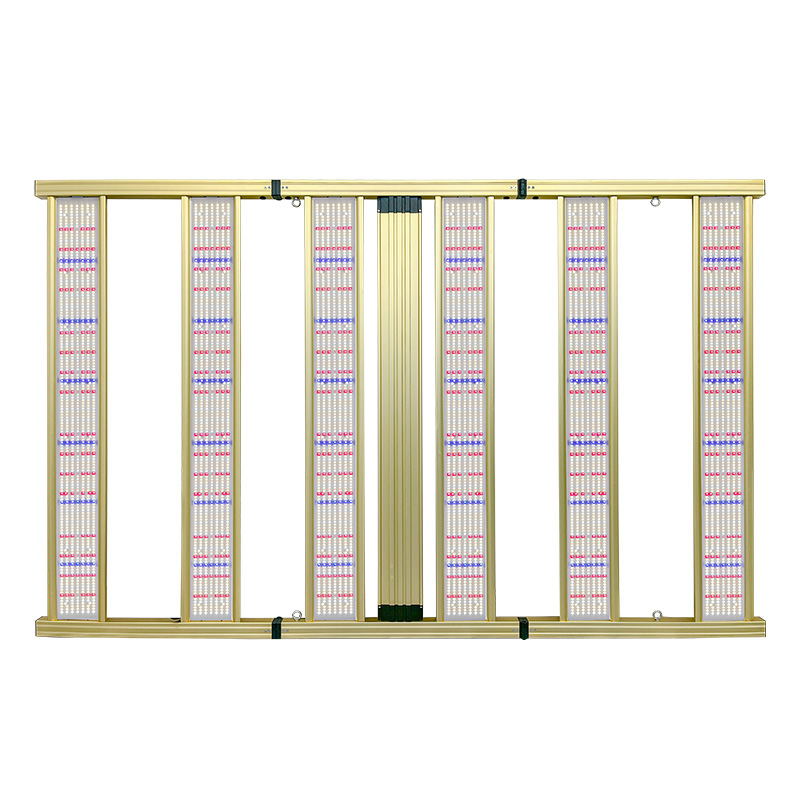
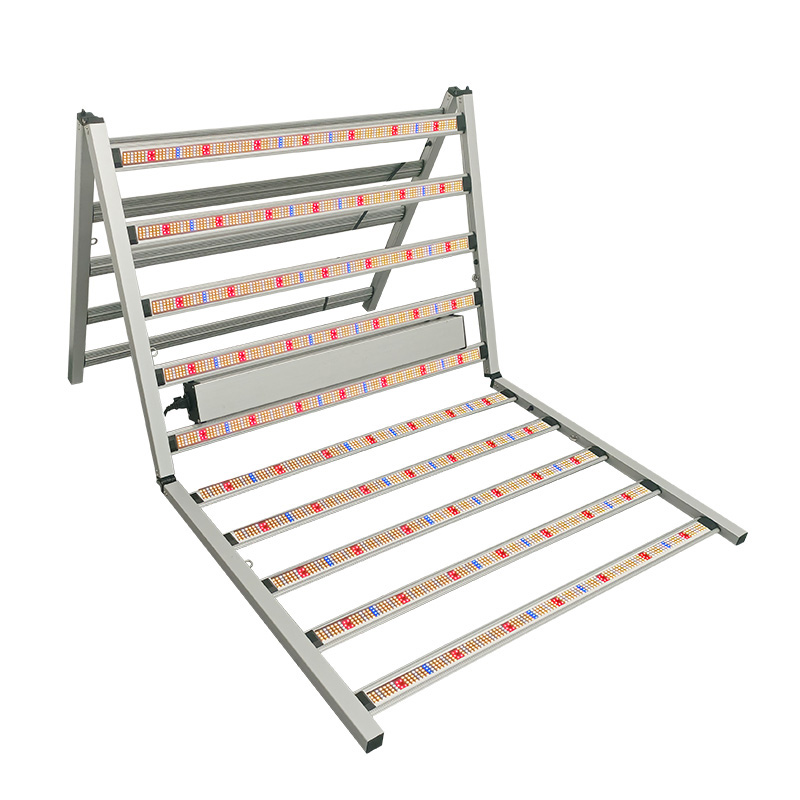
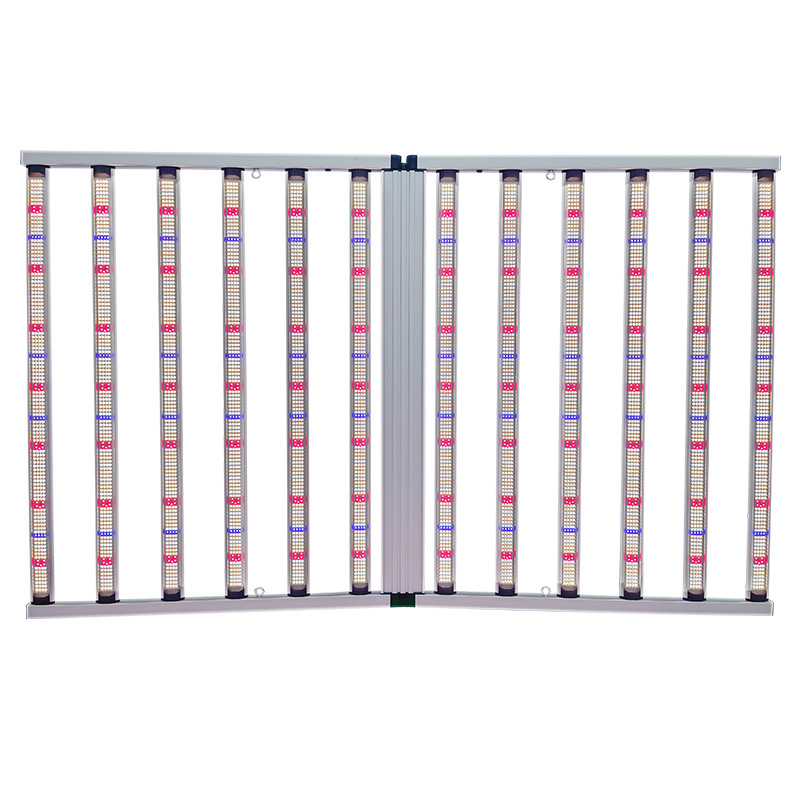
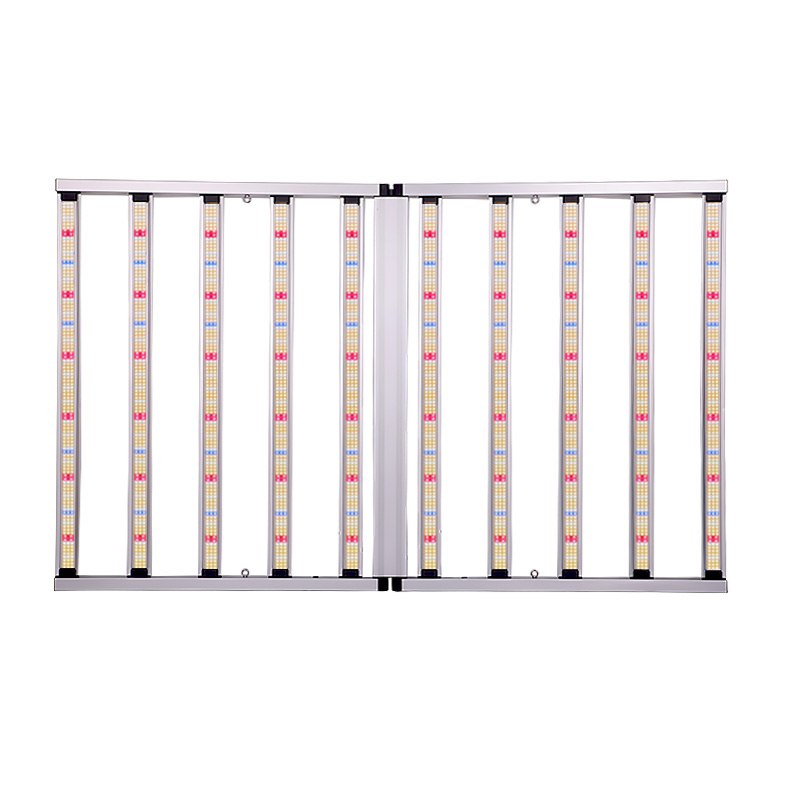
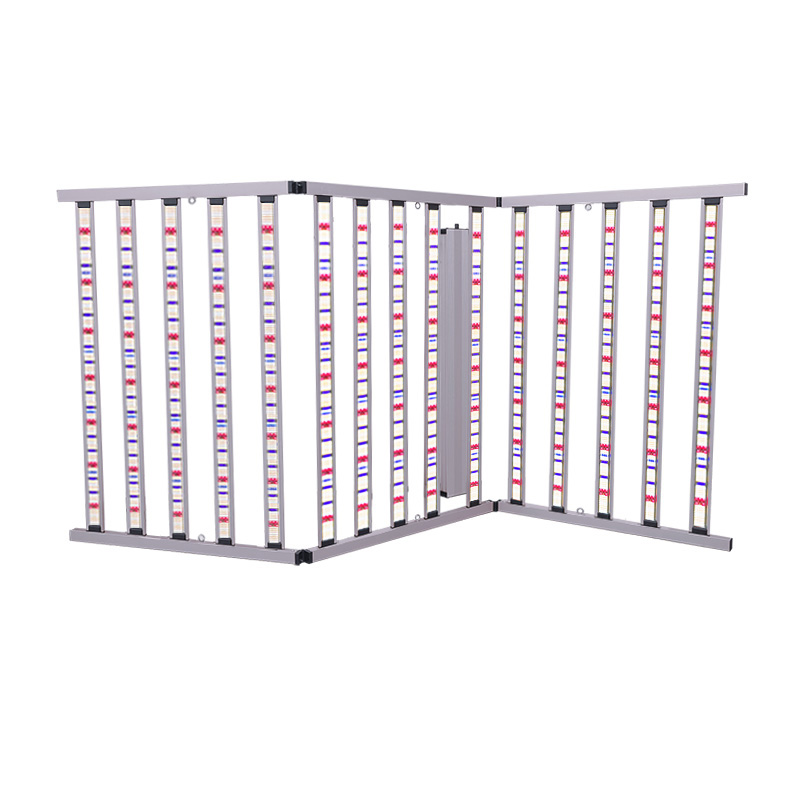
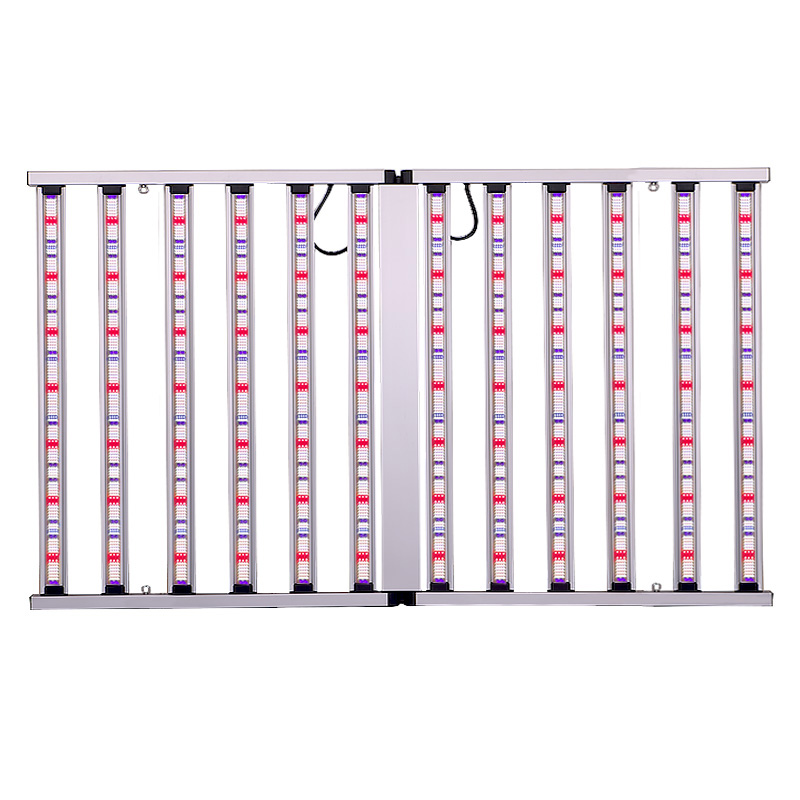
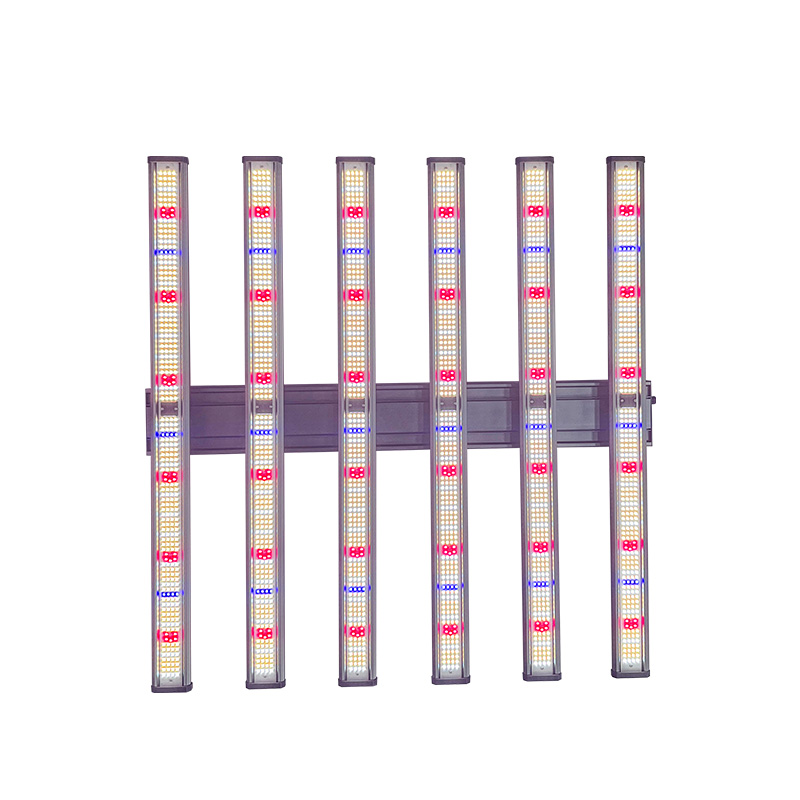
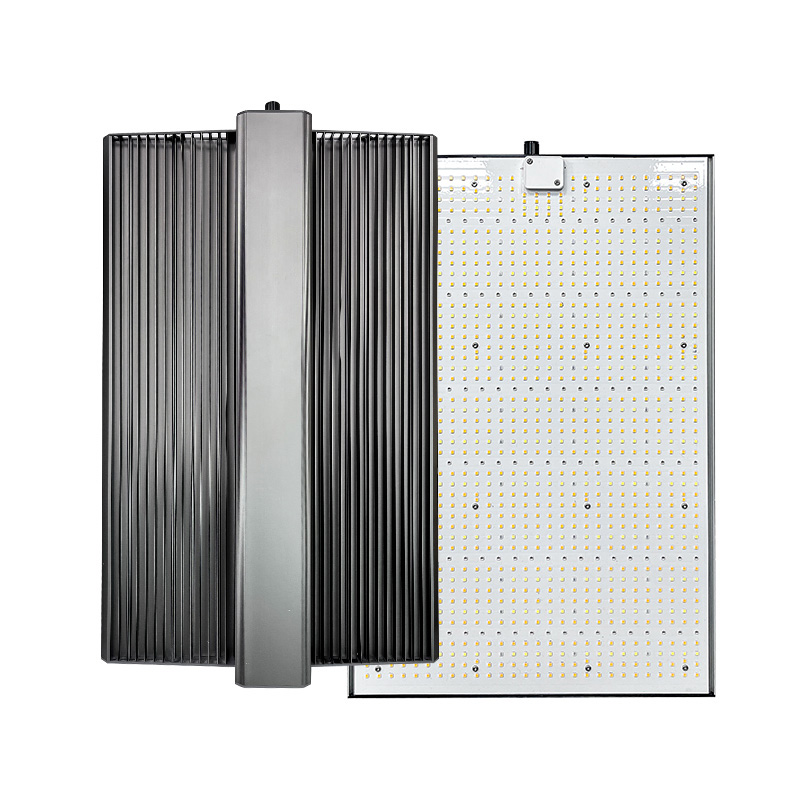
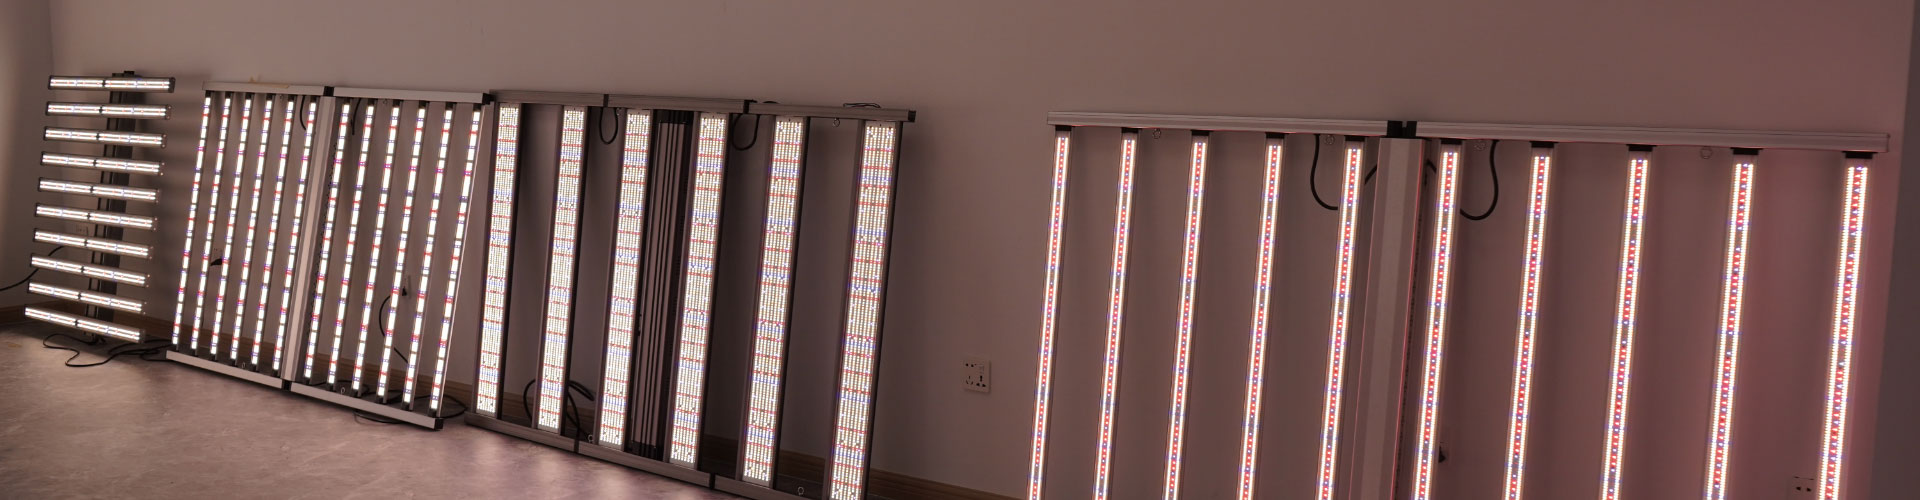
A six-bar high-output Grow Light product page can help buyers review fixture form, but fixture dissipation and room heat load remain different questions.
Understand Why Heat Builds Up Above Fixtures and Near Dense Canopies
As a fixture operates for longer periods, its temperature can still rise. Warm air collects above fixtures, dense light grids reduce open space, and full canopies slow exchange between the upper room and lower crop zone.

Account for the Combined Heat of the Entire Grow Light Grid
Commercial cannabis farms are the priority application context. Commercial rooms operate in lighting zones with shared supply air, returns, fan patterns, and humidity control. The LED Grow Lights product category is useful for fixture comparison; heat planning belongs to the full room layout.
How Should Airflow Move Around High-Wattage Grow Lights?
Separate Air Circulation From Actual Heat Removal
HVAC discussion should treat heat as a system load that must be carried away, rejected, or otherwise handled by the climate system. Circulation fans mix air and reduce local temperature differences, but they do not automatically remove heat. A windy room can still trap heat above fixtures.
Create a Continuous Air Path From Supply to Fixture Zone, Canopy, and Return
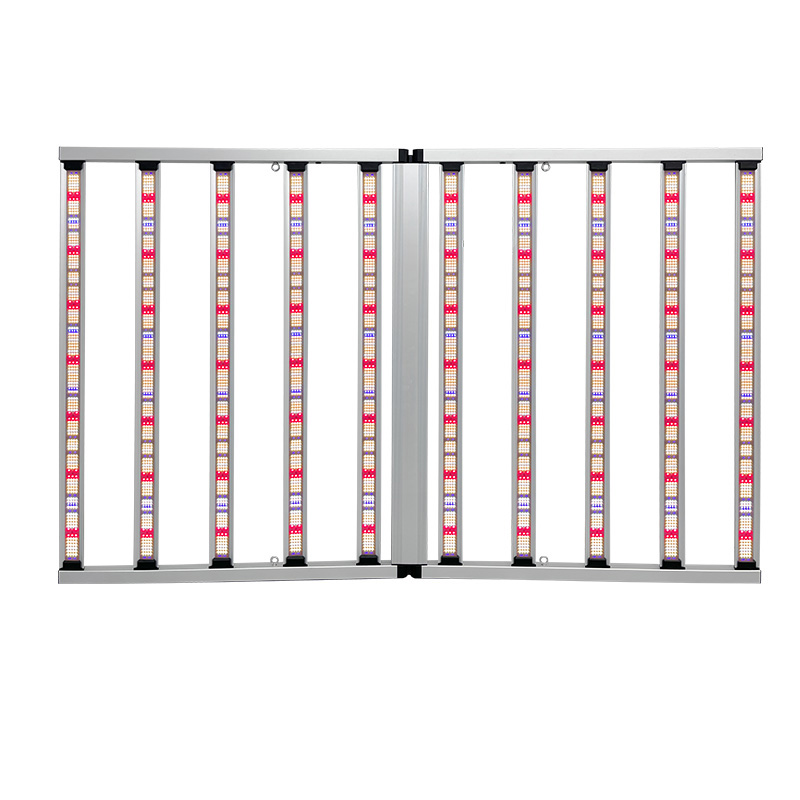
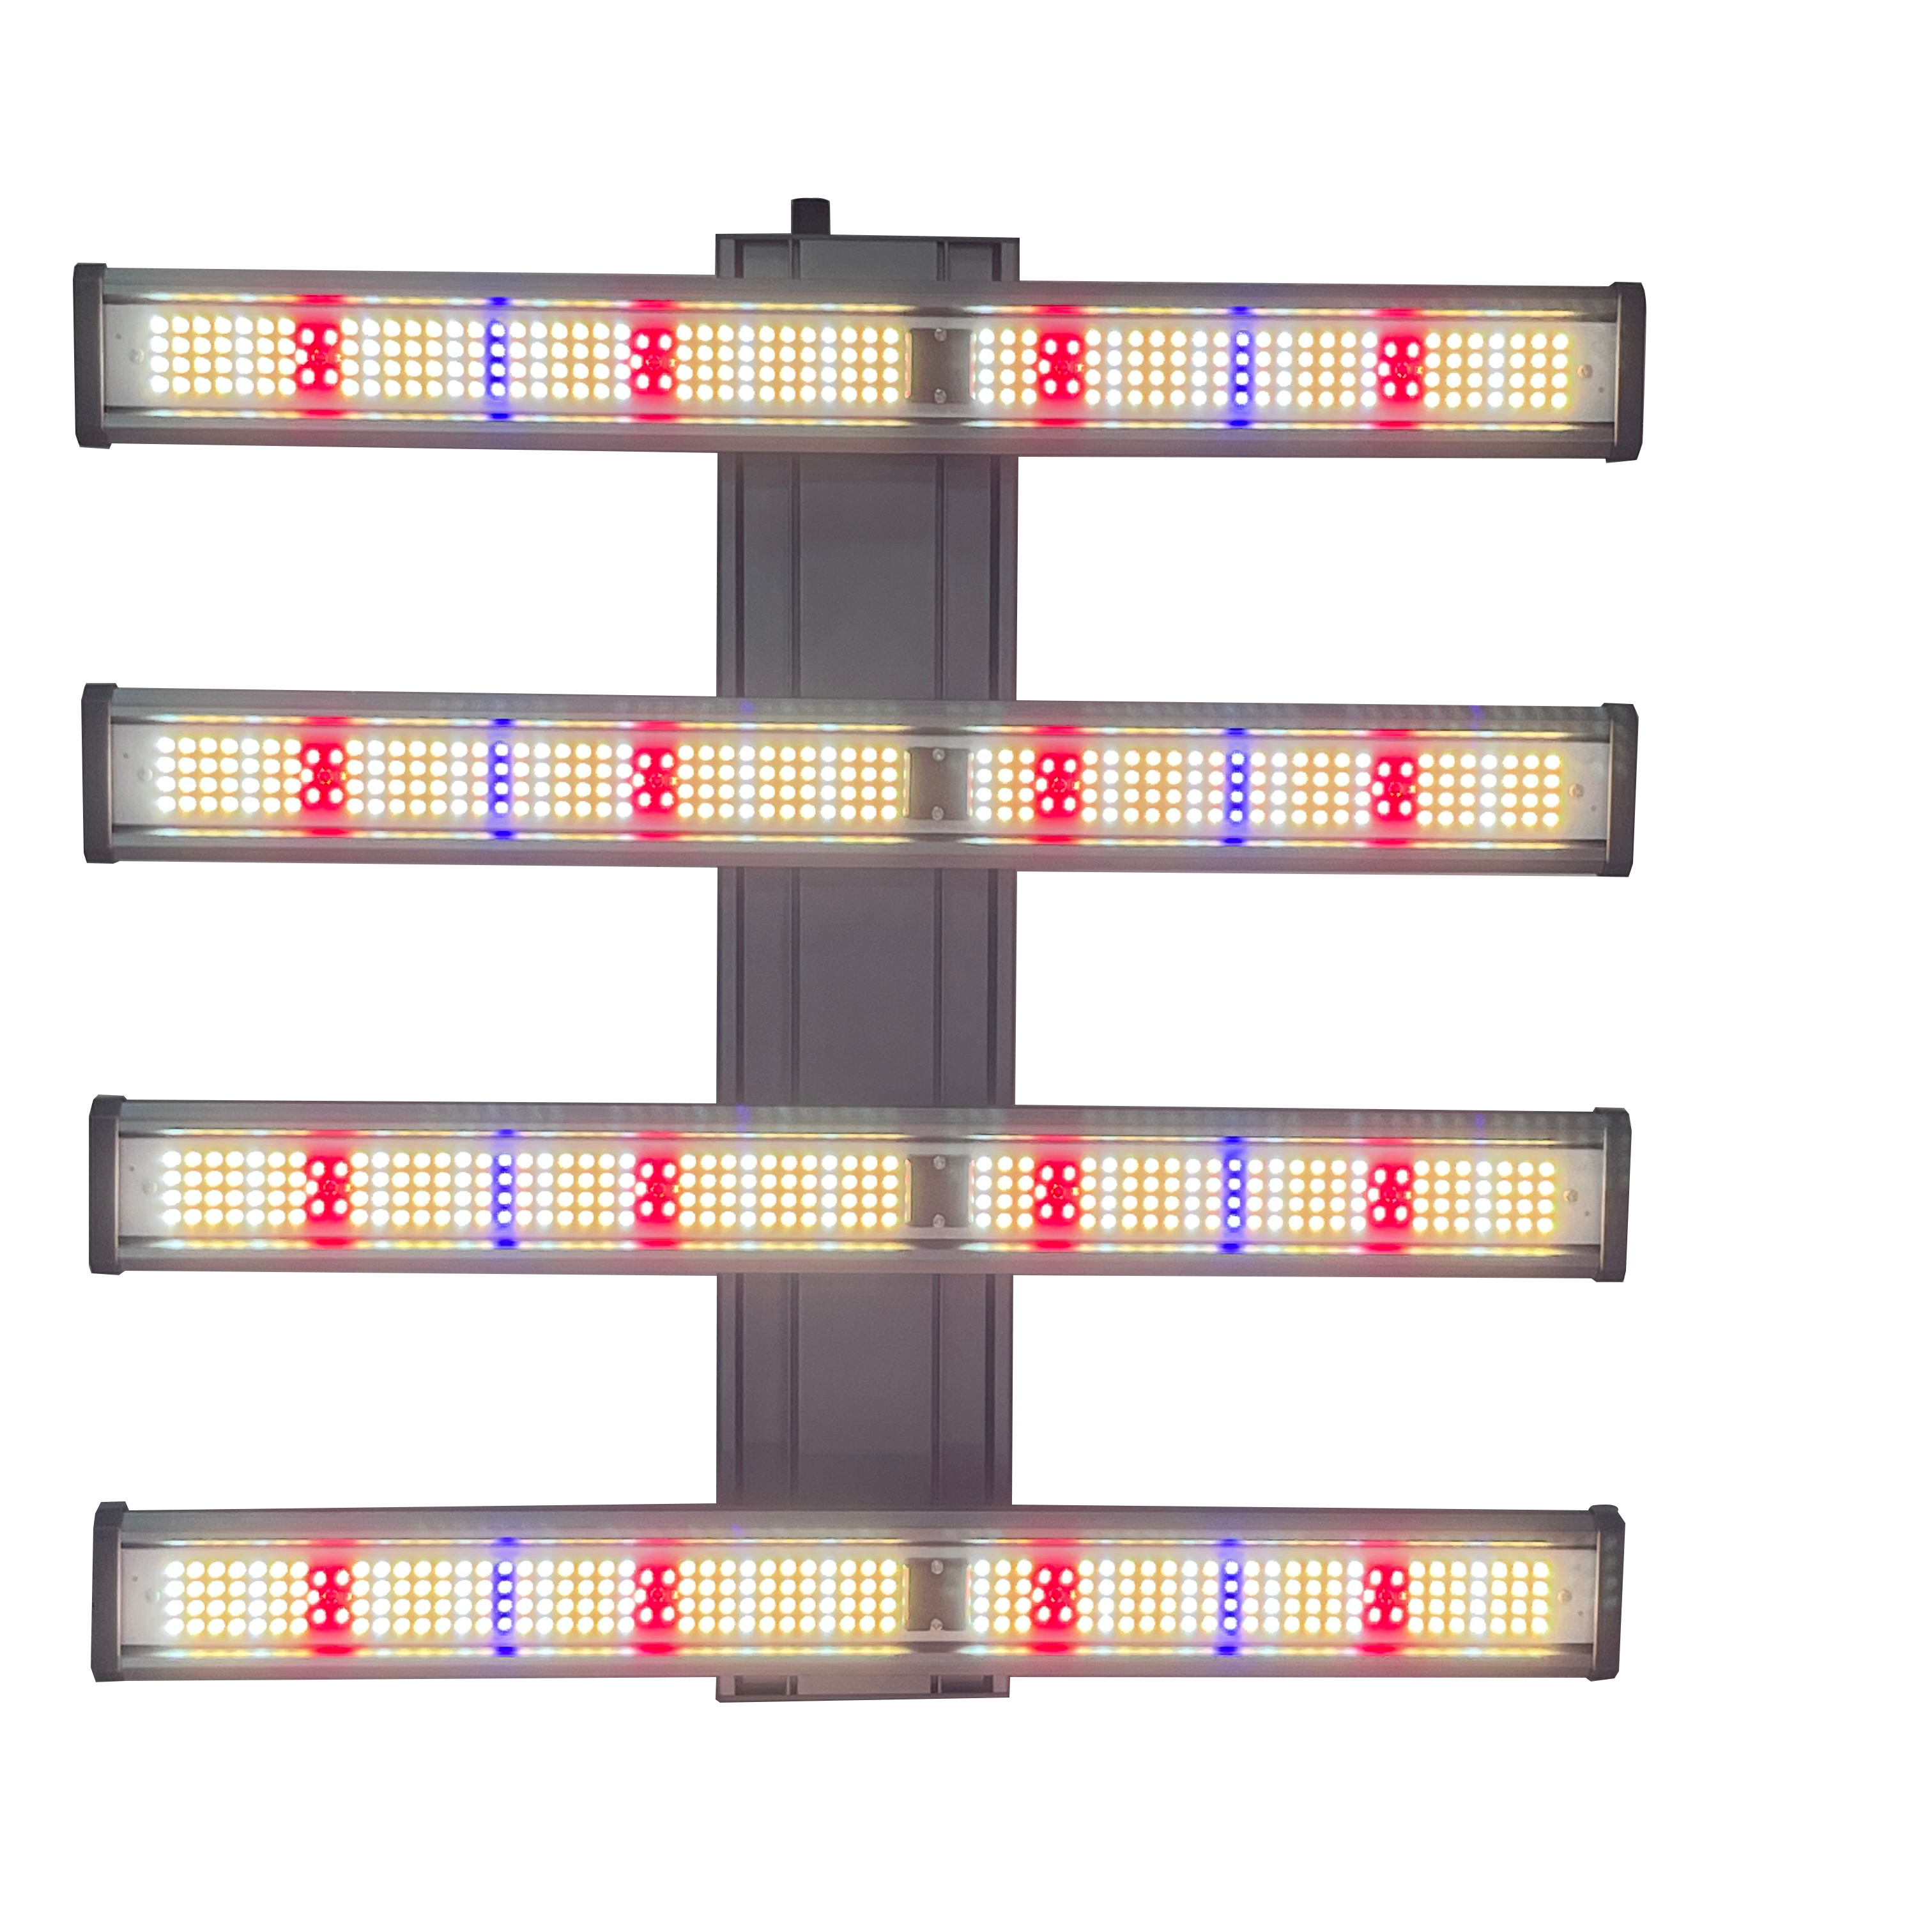
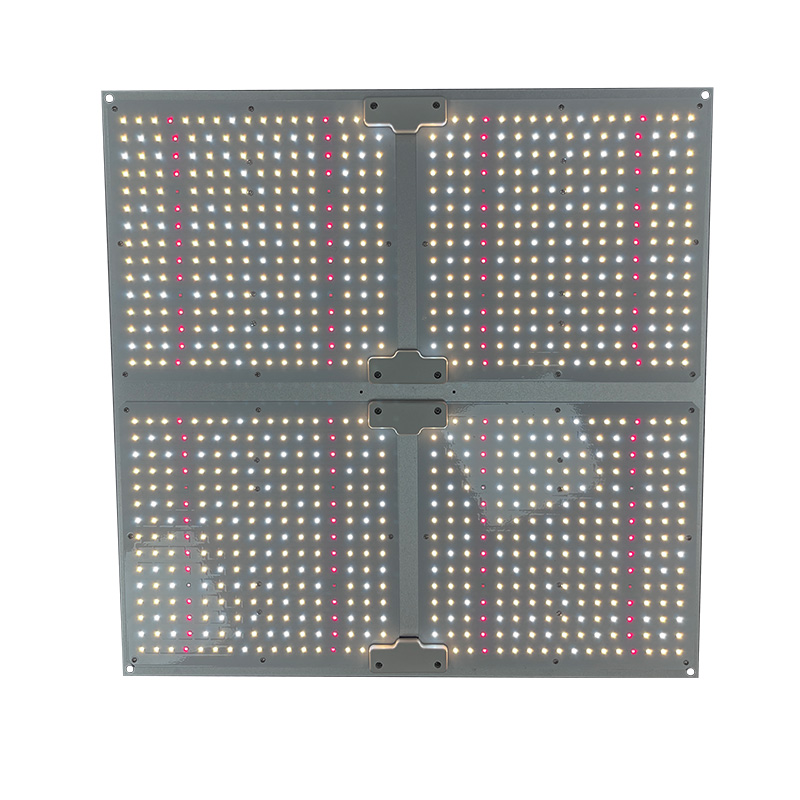
Air should move from supply, through the fixture zone, across the cannabis canopy, and back to return. The product form should be described as a bar-style Grow Light rather than a panel grow light. Open spaces between bars only matter when they connect to a complete room path.
Prevent Stagnant Air Around Corners, Rack Ends, and Fixture Gaps
Dead zones form when supply air never reaches a location or return air pulls from somewhere else. Corners, aisle ends, duct shadows, and fixture gaps should be reviewed as parts of the same room pattern. The goal is to avoid short loops where air moves in place without carrying heat away.
Avoid Excessive Air Velocity Directly on the Cannabis Canopy
More fan speed is not always better. Too much direct velocity at canopy level can create uneven crop-zone conditions. The wattage and efficiency guidance helps frame lighting decisions, but airflow still has to be judged by path and heat removal.
How Should HVAC and Humidity Control Handle Grow Light Heat?
Size Cooling Around the Full Lights-On Operating Load
The climate system should be evaluated under the full lights-on operating condition, not by a single fixture check. Grow Lights are one part of the controlled cultivation environment, and the climate system has to respond to the full room condition.
Treat Temperature Control and Moisture Removal as Separate Loads
Temperature, humidity, and ventilation should be handled as related but distinct environmental variables. A cooling system may bring room temperature back into range while moisture remains high around leaves, lower branches, or dense interior canopy areas.
Monitor Climate Conditions Where the Cannabis Canopy Actually Grows
A room average can look acceptable while crop-zone or lower-canopy conditions remain uneven. Canopy temperature, relative humidity, and lower-canopy microclimate should be reviewed where plants actually grow. When light output changes, commercial growers should review airflow, humidity management, canopy temperature, and room heat load at the same time.
Check Environmental Stability During Both Lights-On and Lights-Off Periods
Lights-off conditions are different, not automatically easier. Lighting heat drops, while humidity and dehumidification demand may not decline at the same pace. Review both periods as operating modes.
How Should Grow Light Placement Reduce Heat and Airflow Problems?
Leave Enough Clearance for Air to Move Around Each Grow Light
Clearance should not be reduced to one universal distance. It depends on manufacturer requirements, ceiling height, ducts, cable routing, neighboring fixtures, and return-air location. Good clearance gives warm air a path away from the fixture.
Space Grow Lights Without Blocking Room Air Distribution
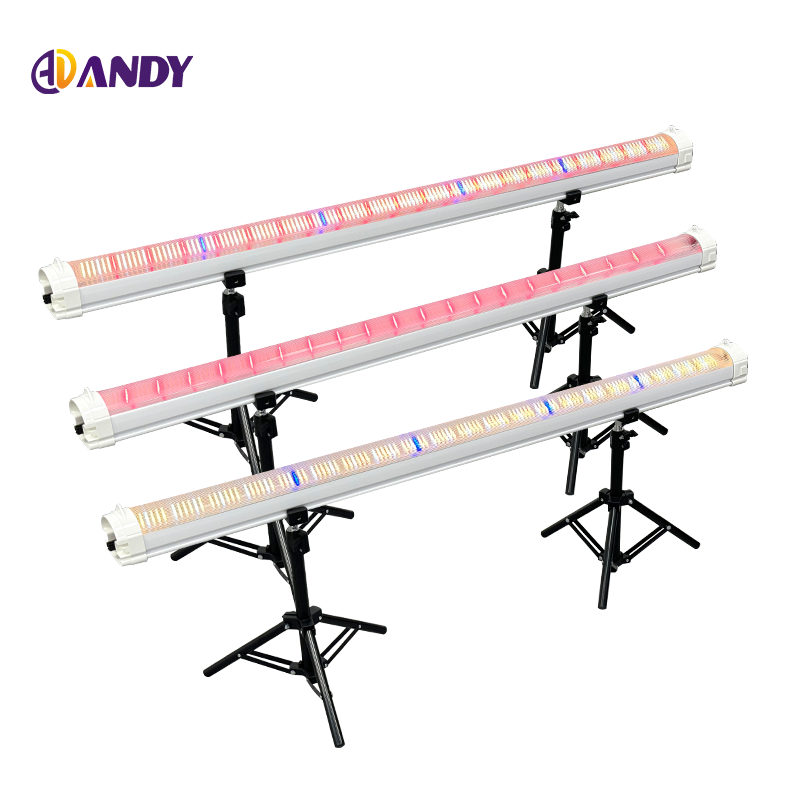
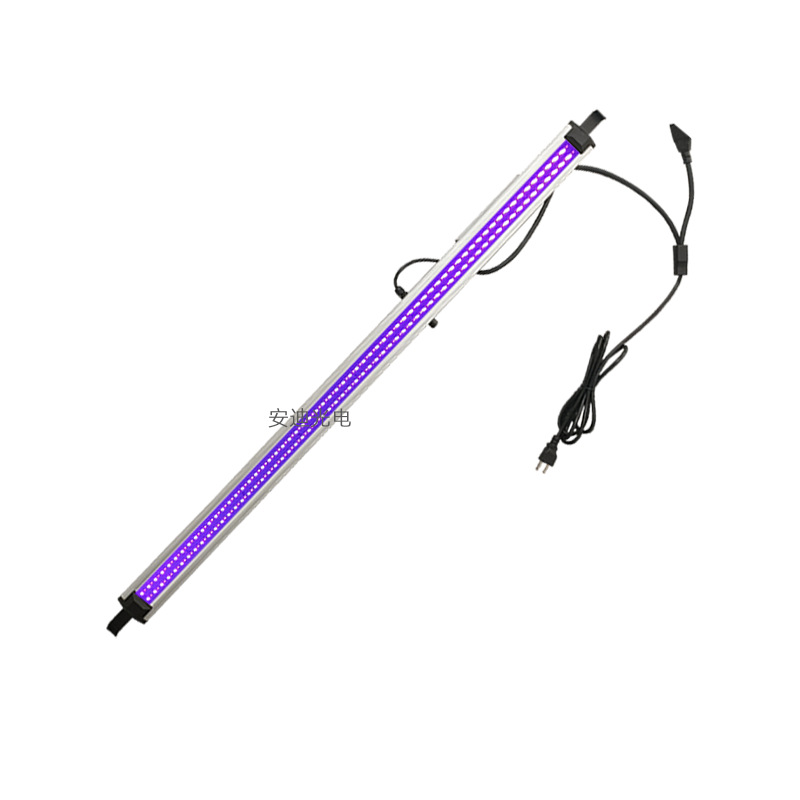
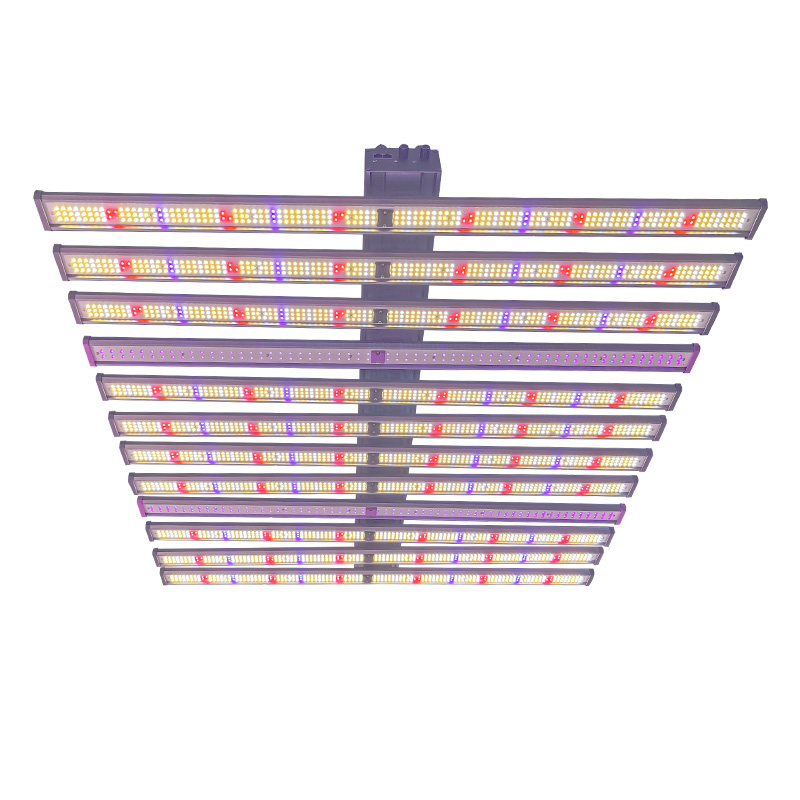
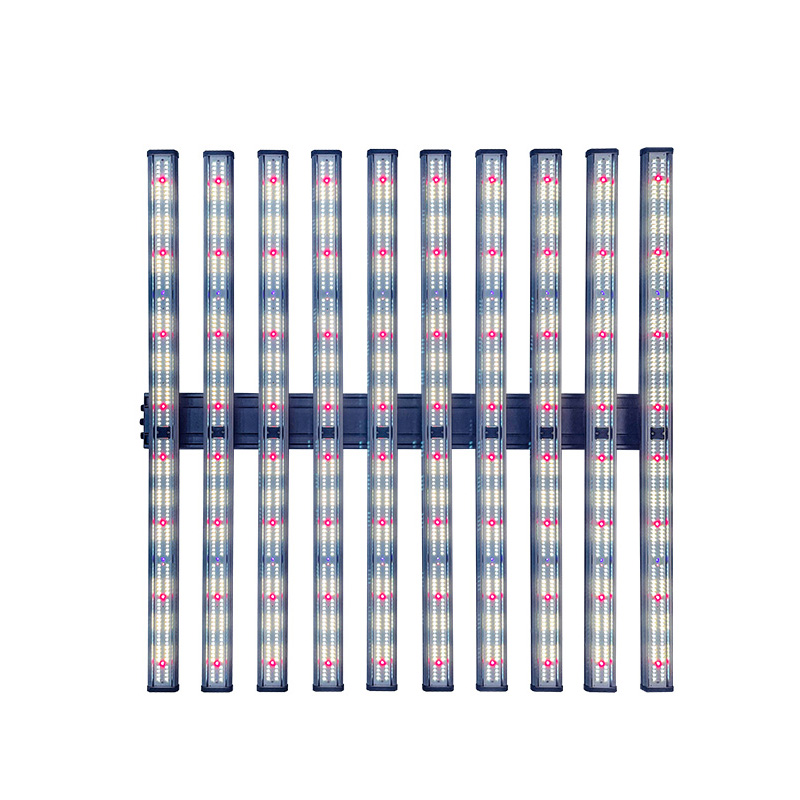
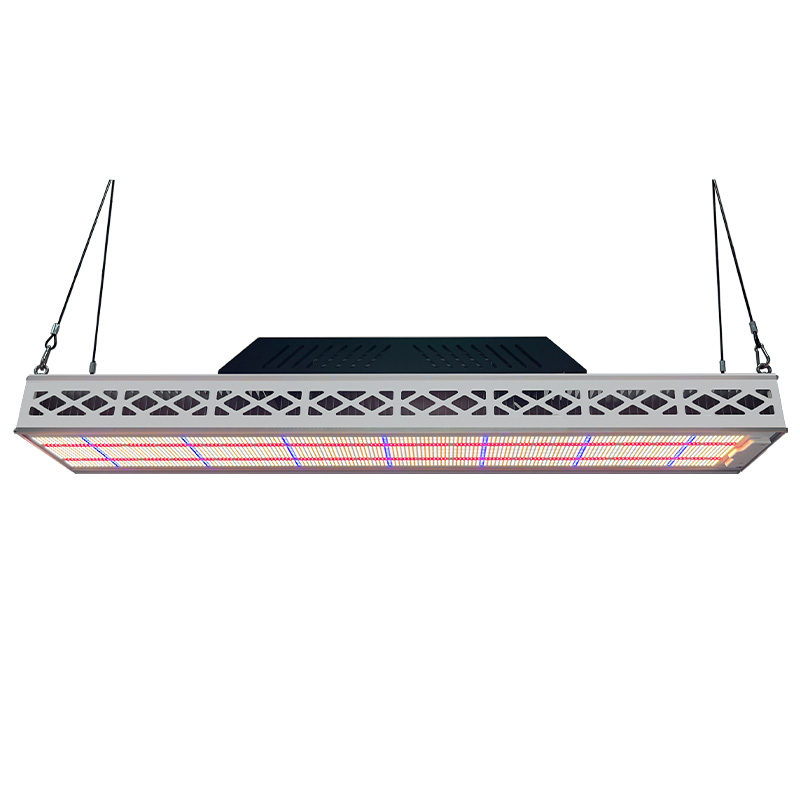
Spacing should support the supply and return pattern. If fixtures block supply air or create warm lanes above the canopy, the layout may fight the HVAC design. The UV bar-style Grow Light product page can be reviewed during planning, but final placement belongs to the actual room.
Coordinate Grow Light Placement With Supply and Return Air Locations
The fixture grid, supply ducts, return points, racks, and canopy form one room system. A layout can fail because the lights interrupt air distribution. Placement should help air enter the fixture zone, pass the canopy, and leave through return.

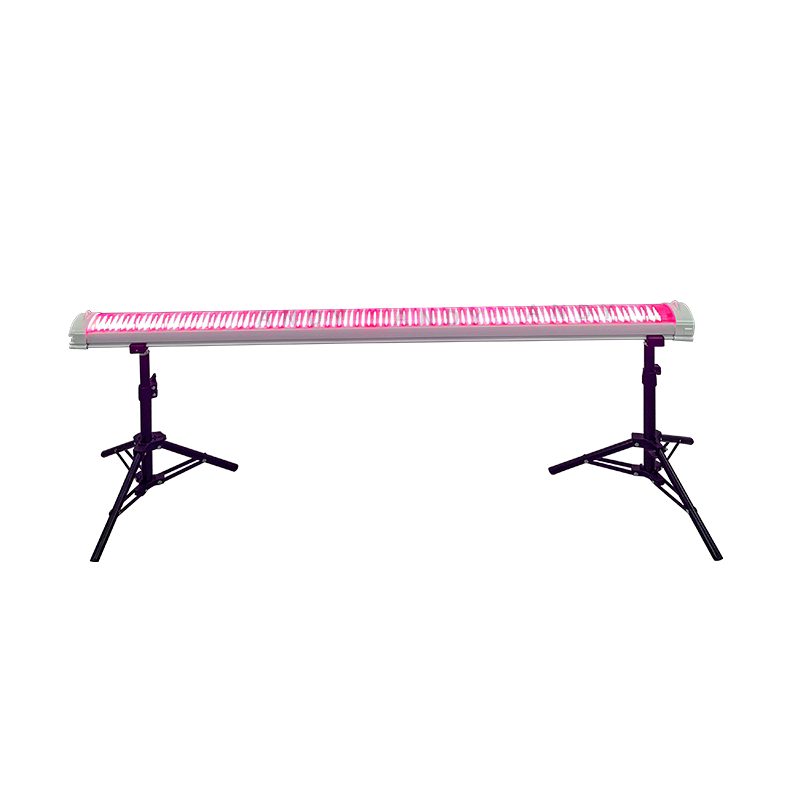
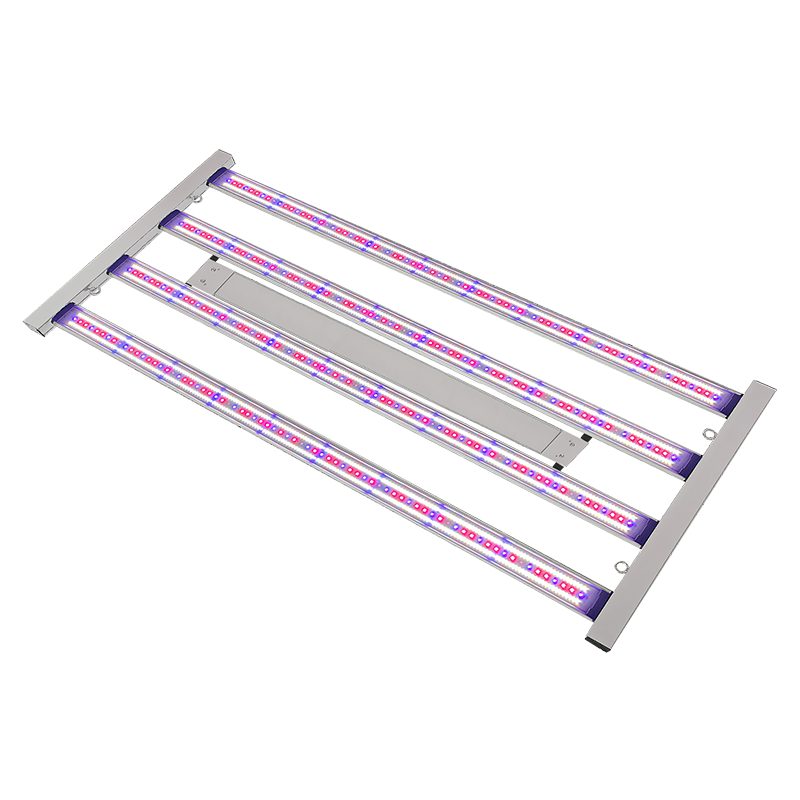
At ANDYLED, our team reviews the lighting zone as part of this combined room view. A multi-channel plant Grow Light product page may help identify control options, but placement still has to support the airflow design.
Use Dimming Only as a Temporary Response to Excess Heat
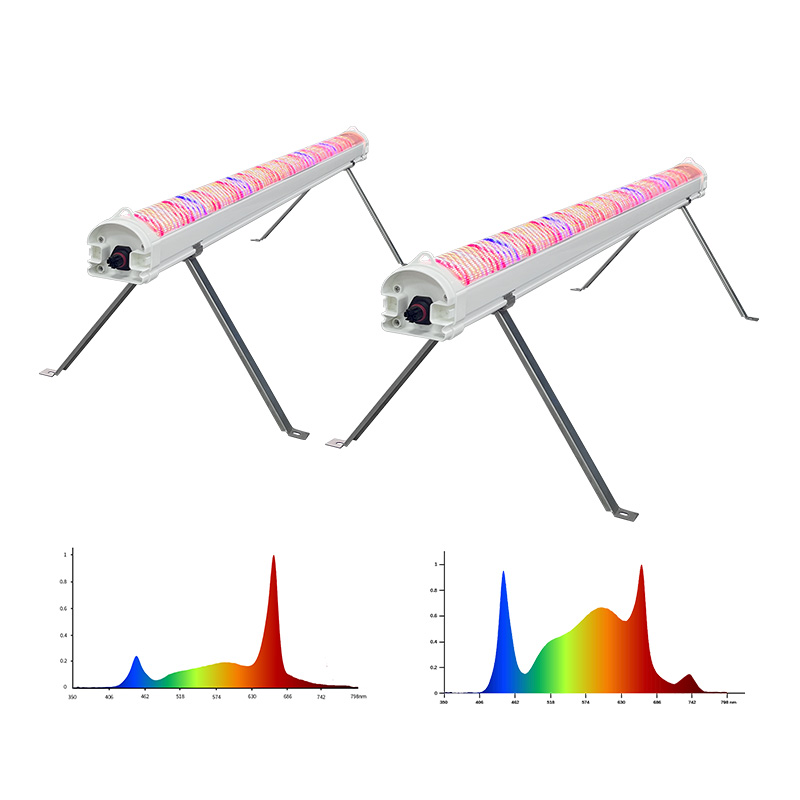
Selected models include two-channel dimming, adjustable output current through a control cable, AC parallel connection for multiple lights, schedule programming, and daisy-chain expansion through splitter dongles. Dimming can reduce output intensity when the selected configuration supports it, but it should be temporary.
Multiple fixtures can be controlled together when the selected controller and wiring architecture support that arrangement, but the exact group limit and fail-state behavior must be validated for the intended system. Repeated overheating usually calls for load, airflow, cooling, or placement correction.
How Can Commercial Farms Verify Heat and Airflow Around Grow Lights?
Test the Room After the Full Grow Light Grid Reaches Normal Operating Conditions
Verification should wait until the full grid has reached normal operation. Before farm-wide deployment, test usable operating ranges, low-output stability, fixture-to-fixture consistency, group commands, scheduling, communication interruption, and power-restart behavior.
Measure Temperature and Air Movement at Multiple Representative Locations
Measure both temperature and air movement above fixtures, at canopy level, near rack ends, near returns, near walls, and in lower-canopy areas. Map crop-zone conditions at the operating settings that will actually be used instead of checking only full output.
Use Airflow Mapping to Identify Stagnant or Overexposed Areas
Airflow mapping can reveal stagnant corners, short loops above fixtures, overexposed canopy areas, and weak return paths. Use the map to decide whether the room needs fan repositioning, supply adjustment, return-air changes, rack changes, or fixture placement review.
Recheck After the Canopy, Fixture Height, or Room Layout Changes
Validate one representative production zone and record plant response, environmental data, control reliability, and staff feedback before scaling. Then repeat verification after canopy fill, fixture-height changes, fan-position changes, duct adjustments, rack changes, or other layout changes.
FAQ
Q: How much heat does a high-wattage Grow Light add to a commercial grow room?
A: The practical answer is the full lights-on room load. A Grow Light transfers heat into surrounding air, and that heat must still be handled by the cooling and return-air system.
Q: Where should fans be placed around a high-wattage Grow Light?
A: Fans should support a path from supply air through the fixture zone and canopy toward return air. They should not only create strong local movement that recirculates heat in one area.
Q: How much airflow clearance does a high-wattage Grow Light need?
A: There is no single clearance that fits every Grow Light. Review manufacturer requirements, ceiling height, ducts, neighboring fixtures, cables, racks, canopy height, and return-air locations.
Q: Can dimming a Grow Light help control heat in a commercial grow room?
A: Yes, dimming can be a temporary response when the selected fixture and controls support it. It should not replace cooling, return-air design, humidity control, or fixture placement.
Q: How can I tell if poor airflow around a Grow Light is creating canopy hot spots?
A: Check representative crop-zone locations instead of one room average. Uneven canopy temperature, weak rack-end airflow, stagnant corners, or overexposed leaves can indicate that the air path needs correction.


